
A backing pad and polishing disc are the heart of an angle grinder — without the right pad the disc won't hold, and without the right size you'll end up with scratches instead of a smooth surface. This guide explains how to choose the right pad for your tool and job type, and how to safely change discs.
Quick Summary
✅ 125mm pad for small angle grinders (4.5"); 150mm for medium; 180mm for large (7")
✅ Hook & Loop (velcro) system — disc change in seconds without tools
✅ Stainless steel (SS) pads — for wet work and high humidity
✅ Check spindle thread (M14) matches your tool before ordering
🛒 Prices from ₪11 for a holder to ₪38 for a professional ProTls SS pad (VAT included)
What You Need Before Starting 🧰
For polishing pad work:
- Angle grinder in the correct size (4.5", 5", 7")
- Matching backing pad for the tool
- Abrasive discs in the right grit (P40–P120 for coarse; P180–P320 for fine)
- Safety glasses — mandatory with angle grinders
- Ear protection — high noise levels
- Dust mask for coarse polishing work
⚠️ Important Warning
Never exceed the maximum RPM marked on the disc! Using a polishing disc above its rated speed can cause the disc to shatter, causing serious injury. Always check the disc's max RPM against your tool's speed.
Step-by-Step — Attaching and Using Polishing Pads 👷
1. Choose the correct size: The pad size must match the angle grinder size. 125mm pad for 4.5"–5" grinders; 150mm for 5"–6"; 180mm for 7".
2. Attaching the pad: Lock the tool's spindle (lock button). Thread the pad onto the M14 spindle clockwise until firm. Run the tool briefly without a disc to verify stability.
3. Attaching a Hook & Loop disc: Press the disc onto the pad — the velcro grips automatically. Ensure the disc is centred. To remove: simply peel from the pad.
4. Correct technique: Hold with two hands. Work at 5°–15° to the surface — not flat, not steep. Use wide circular motions for even results. Don't press — let the tool's weight do the work.
5. Grit progression: Start with coarse grit (P40–P80) to remove rust/paint; move to medium (P120–P180) for smoothing; finish with P320 for final finish.
6. Cleaning the pad: After work, clean the Hook & Loop from dust and debris. A dirty pad scratches the disc surface and shortens disc life.
💡 Pro Tip
For edges and corners, use a flexible 125mm soft pad — it conforms to surface shape. A rigid pad on a corner will gouge the edge.
Products at ramo.co.il 🛒
Featured Products ⭐
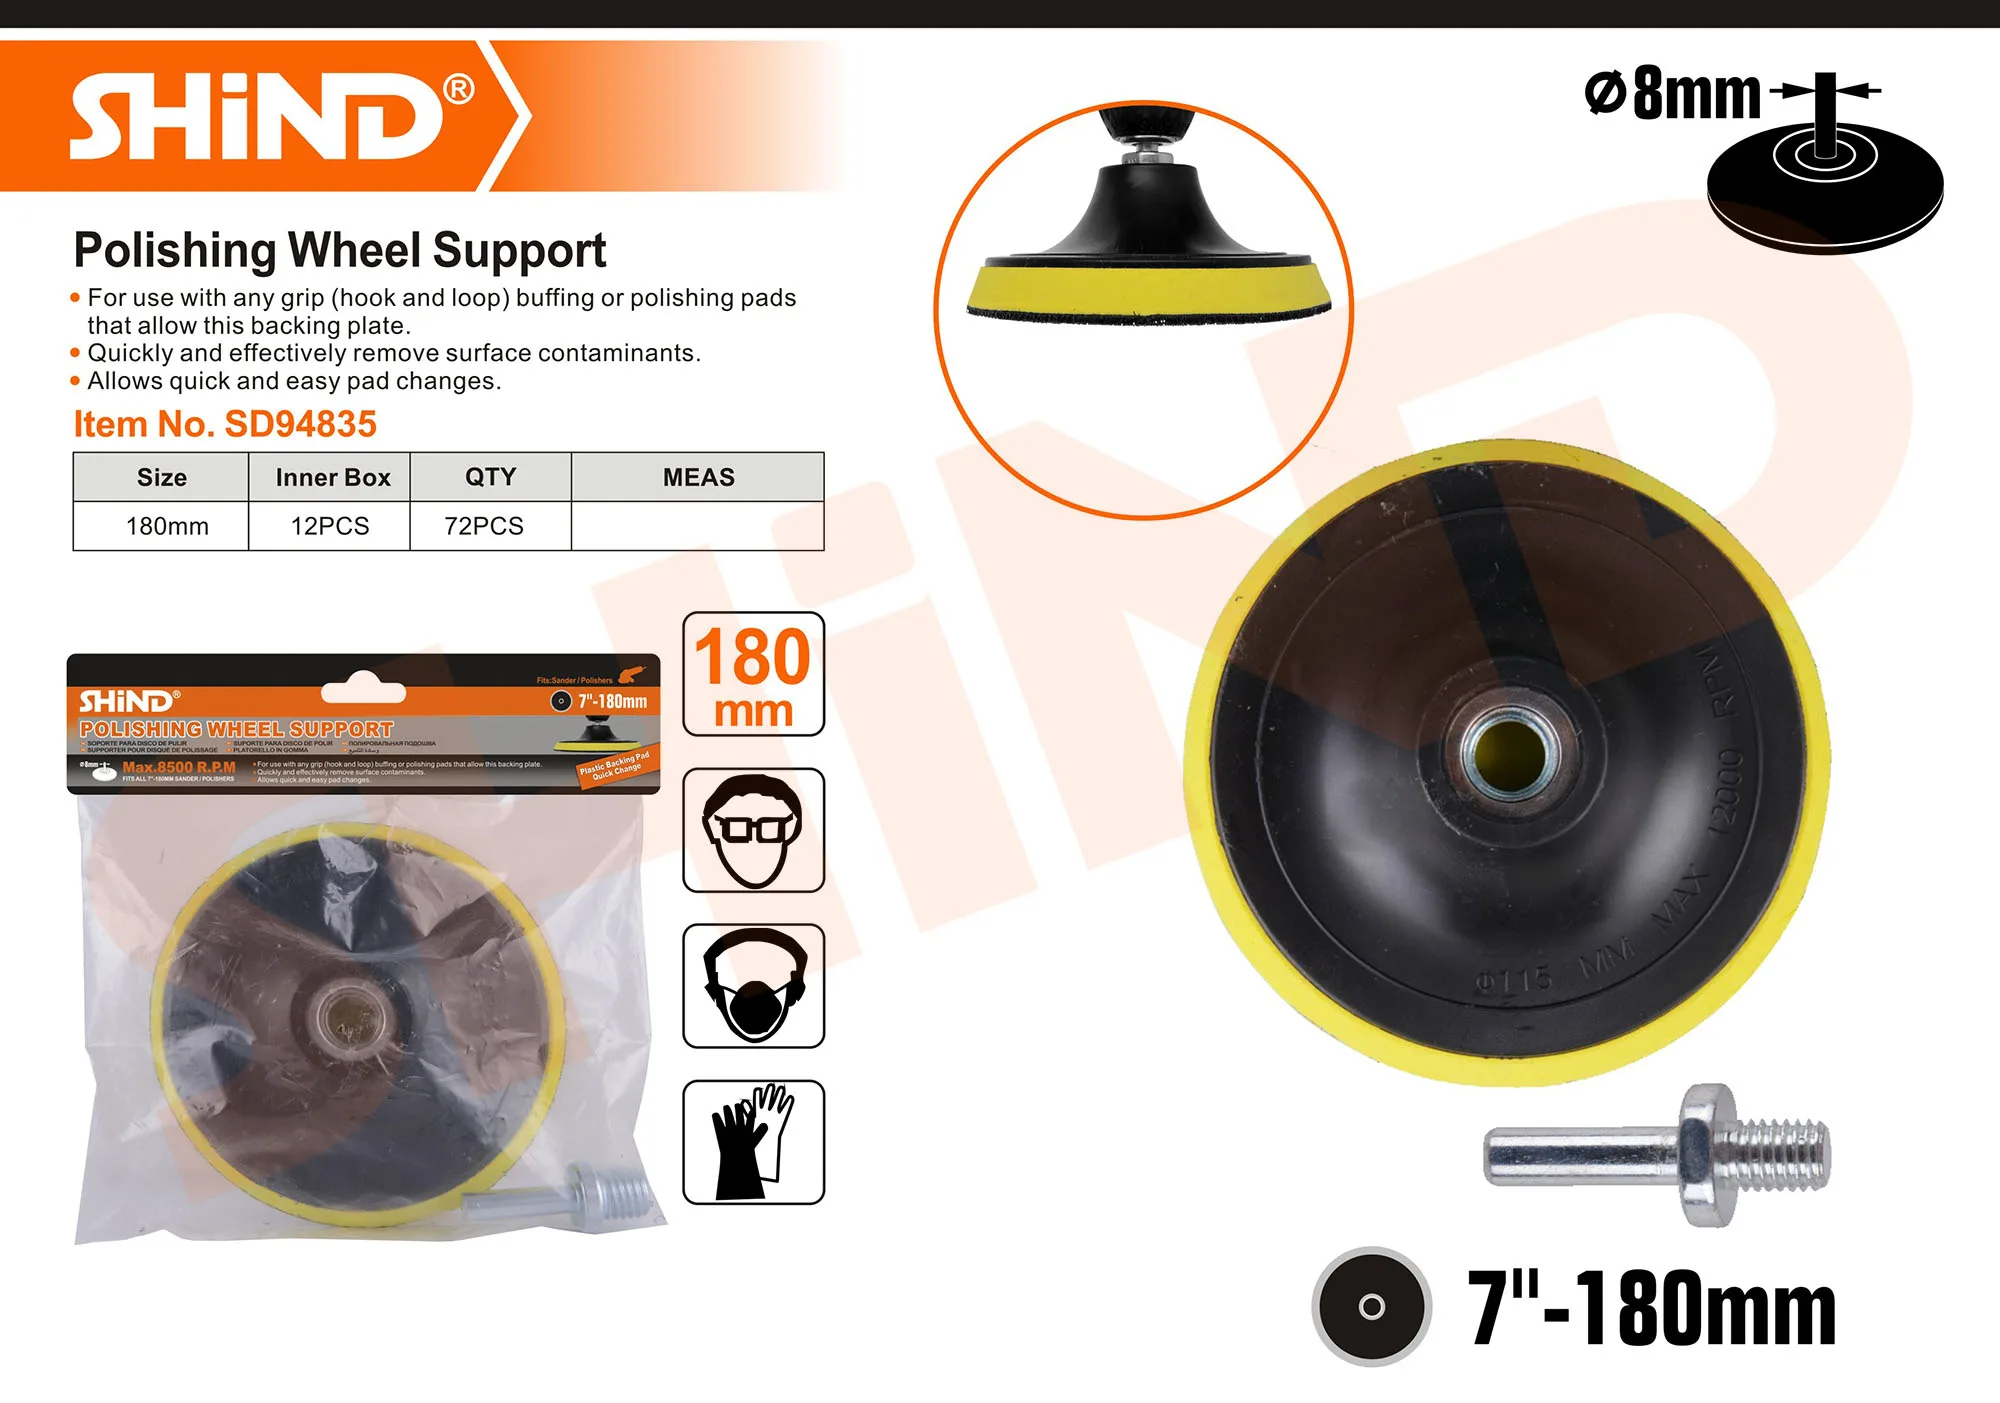
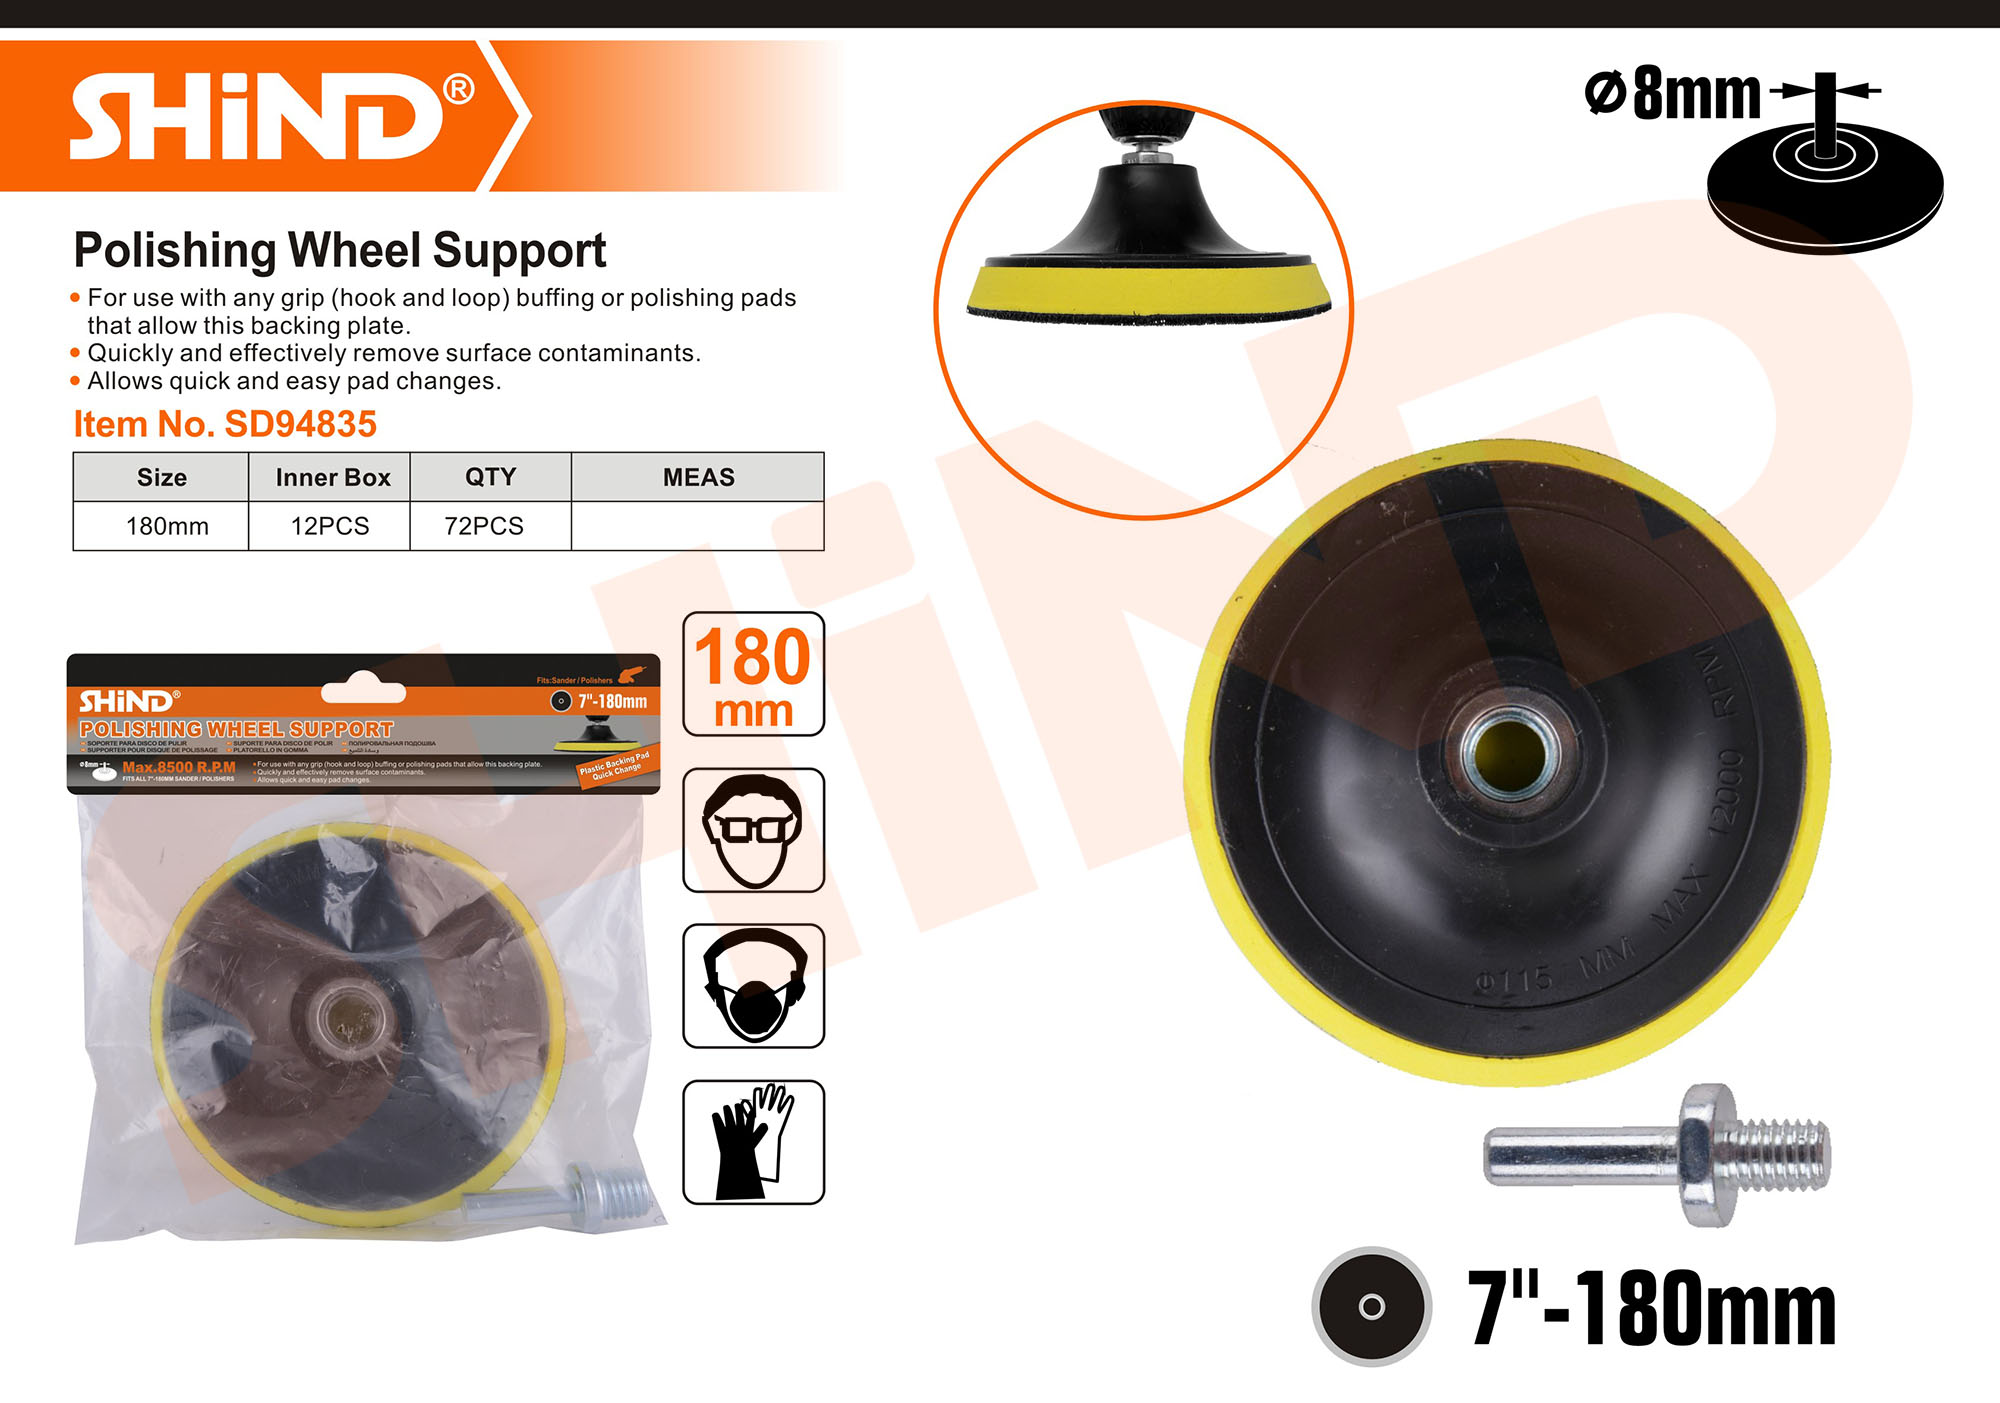
Professional 180mm (7") Polishing Disc Backing Pad - Hook & Loop - SHIND Model
₪18
View product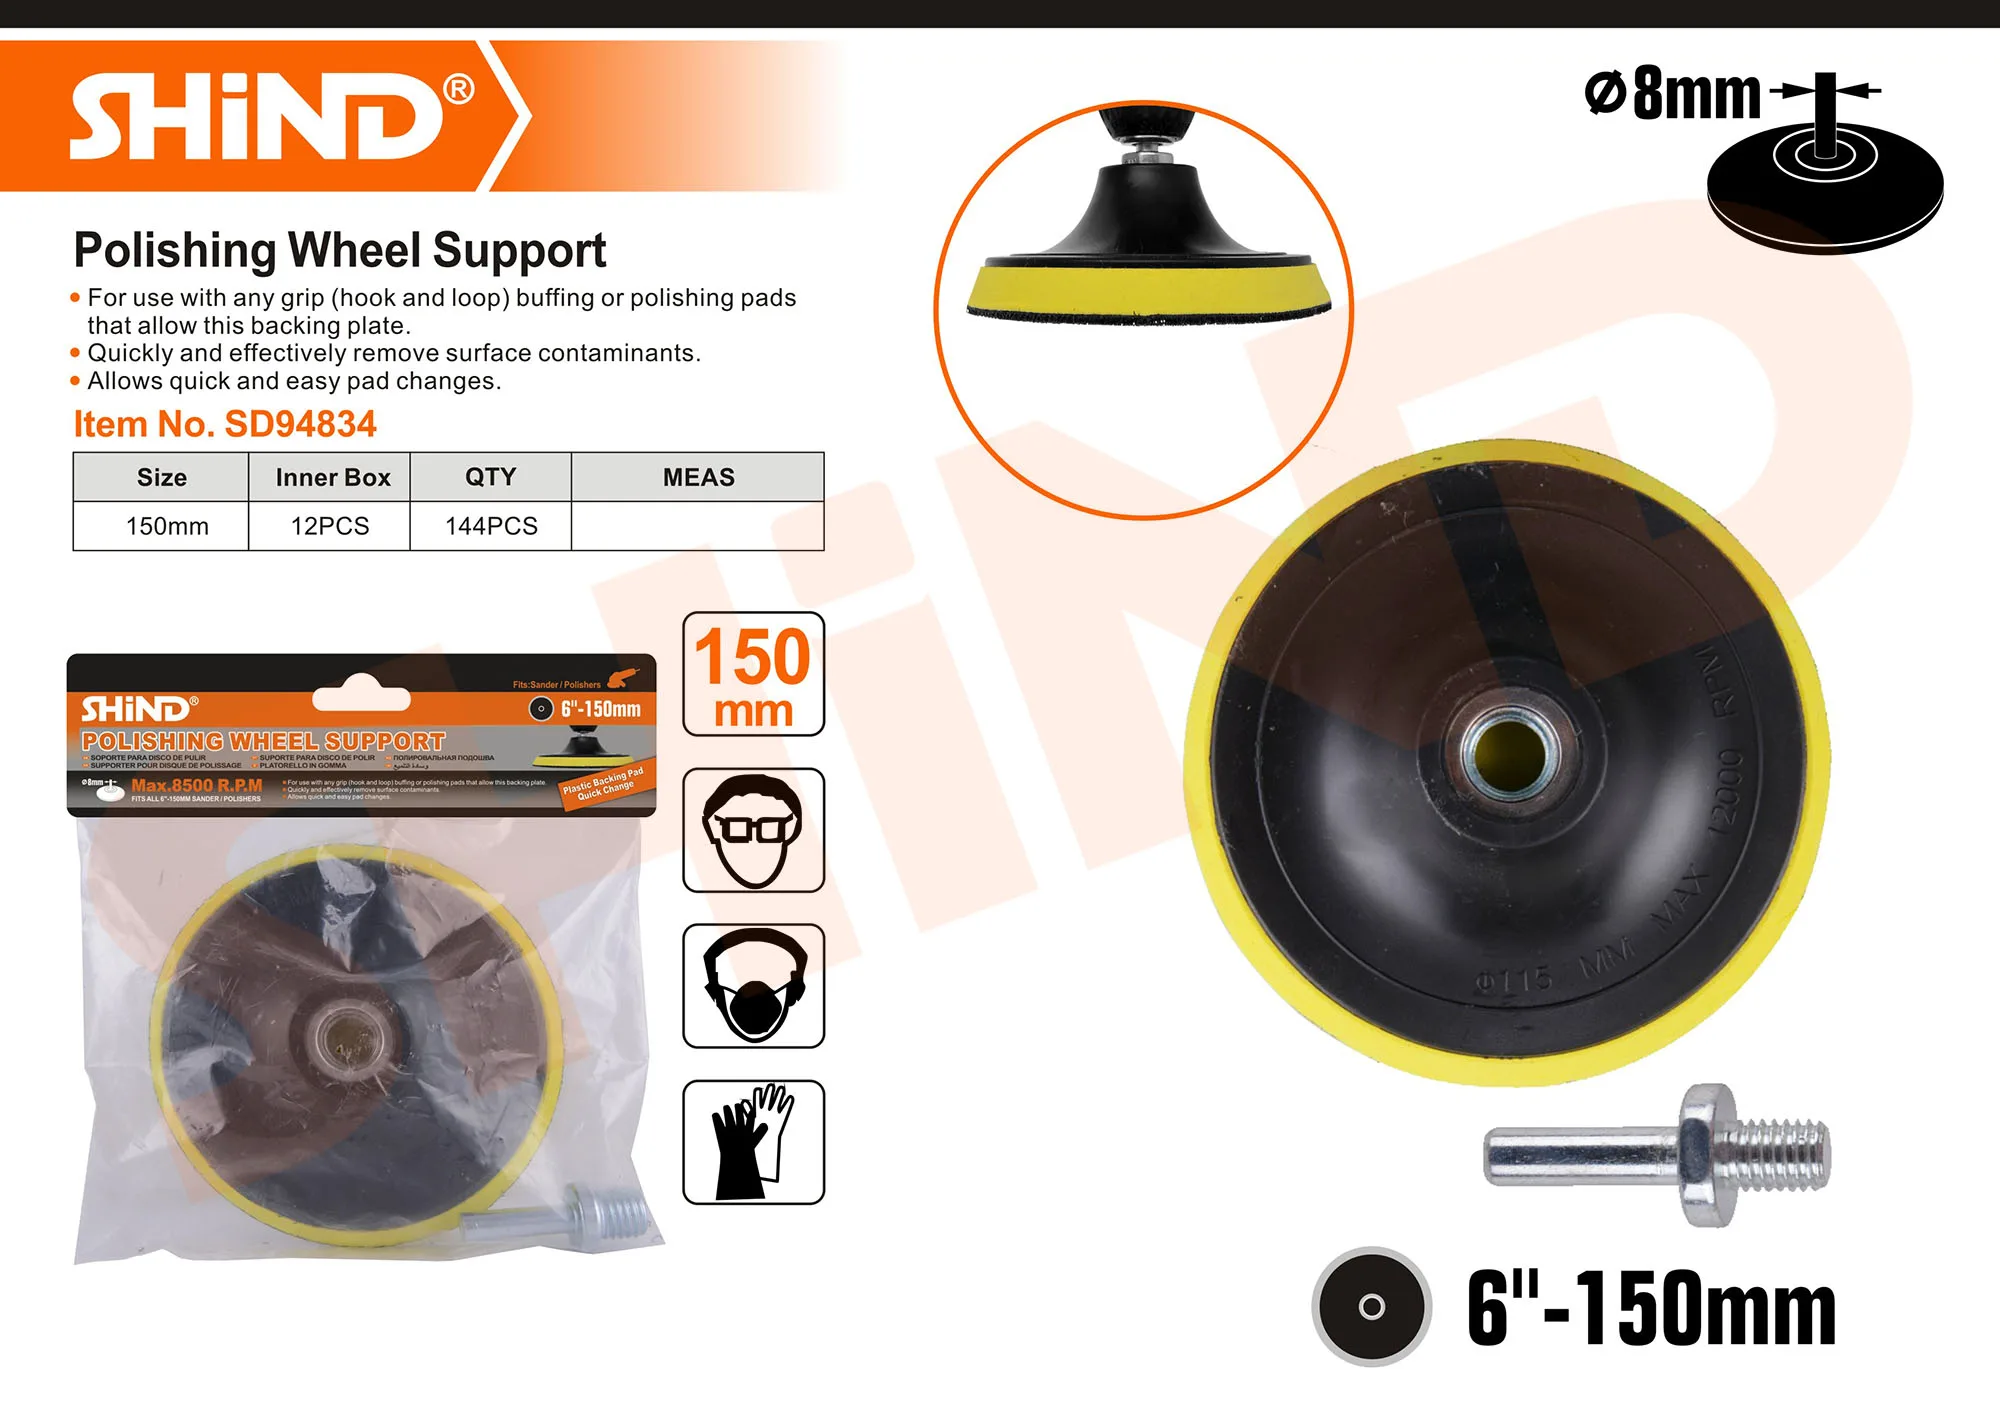
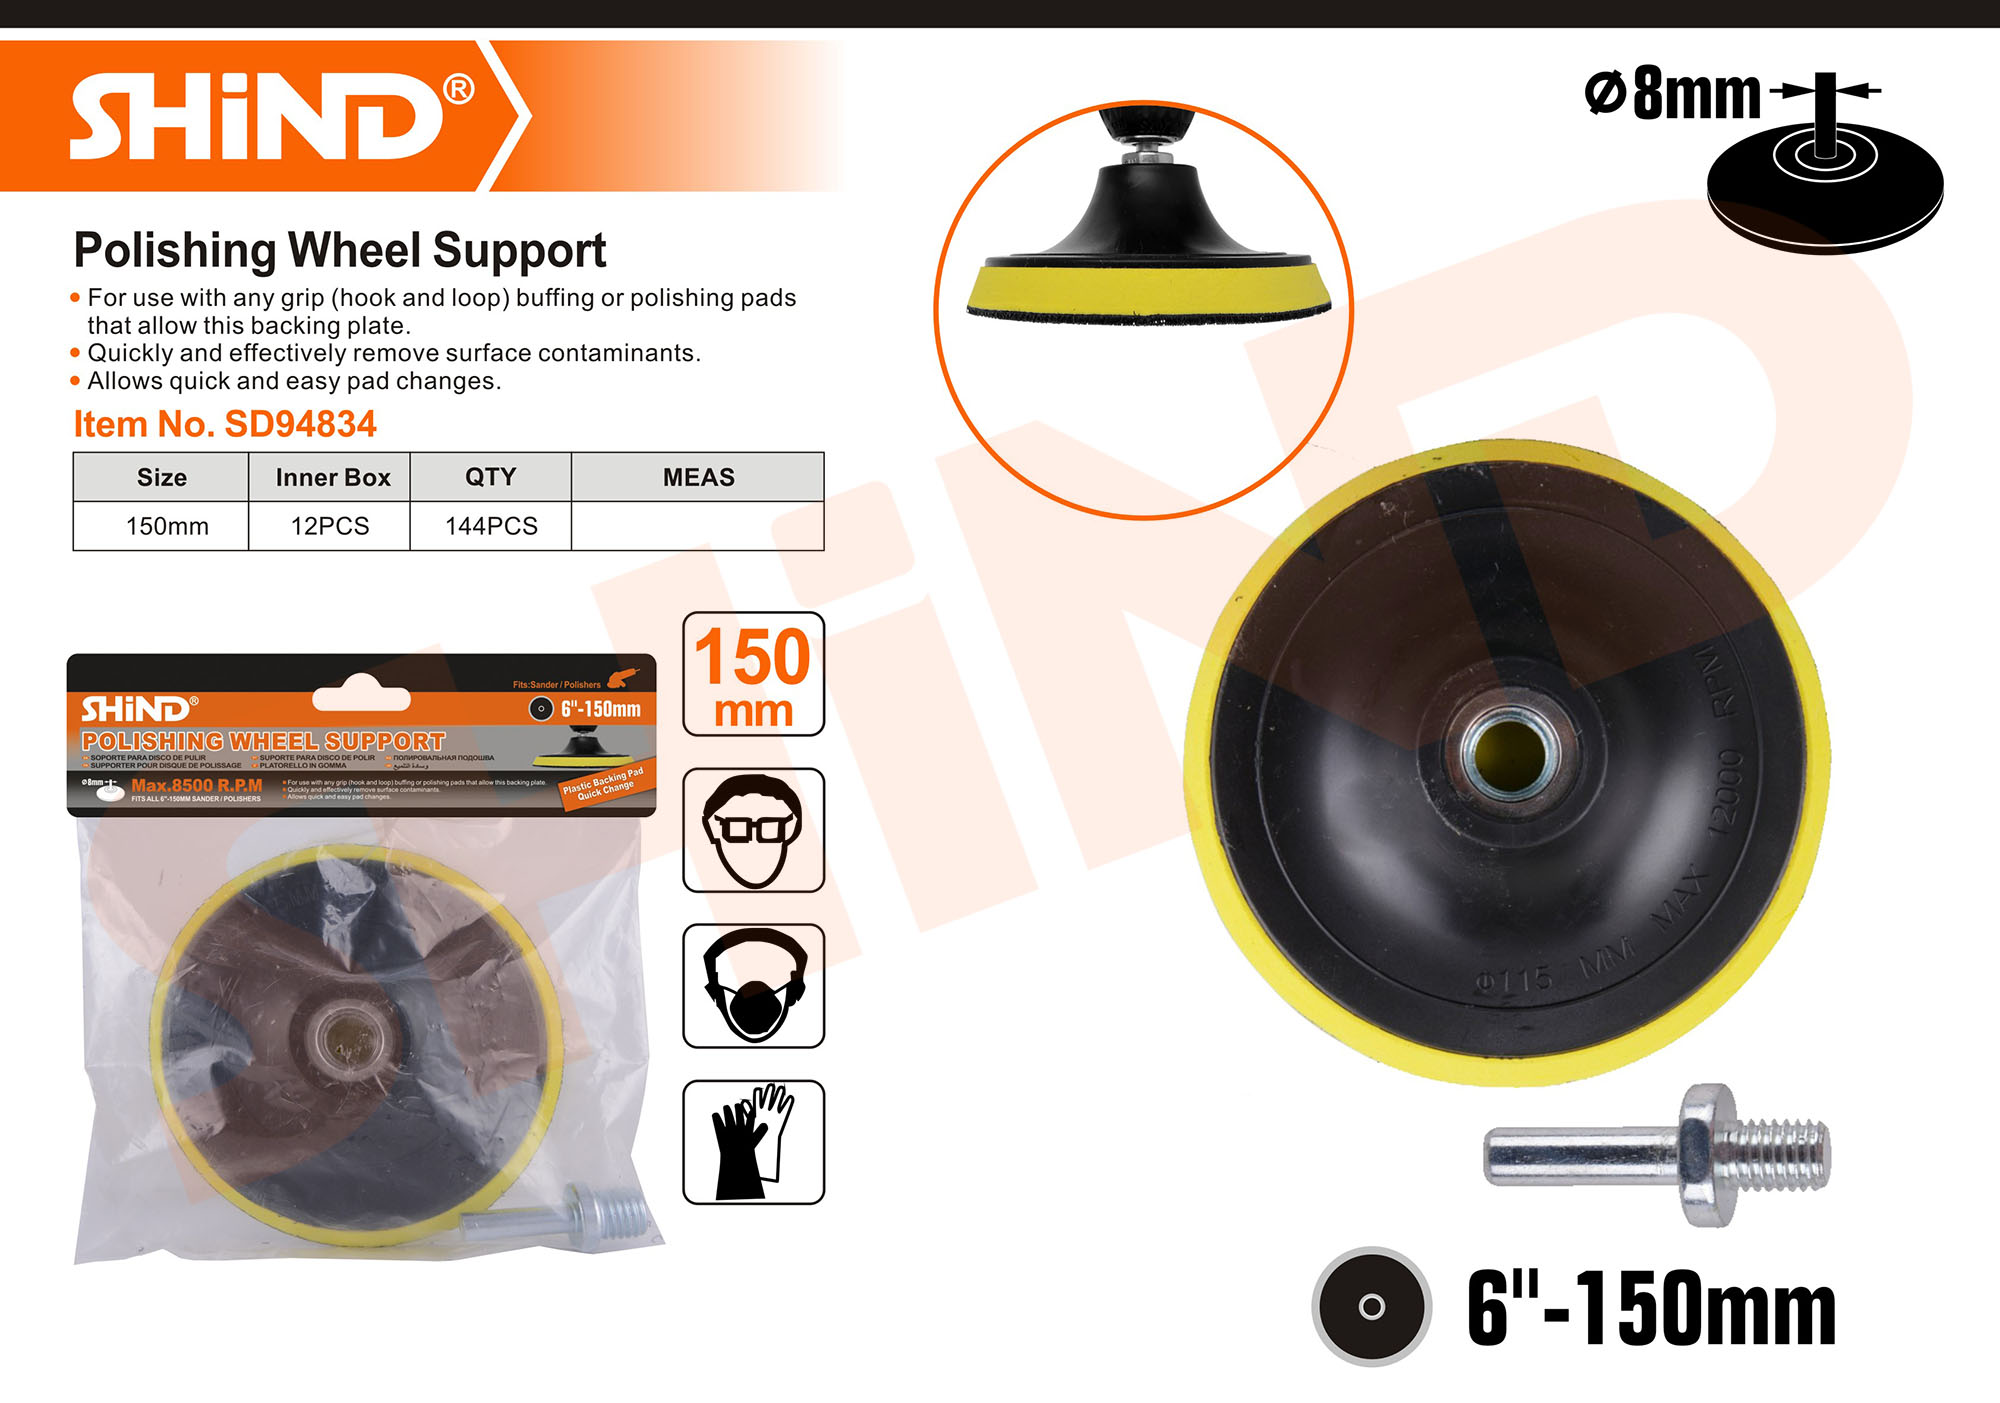
Professional Polishing Disc Backing Pad 150mm (6") - Hook & Loop - SHIND Model
₪17
View product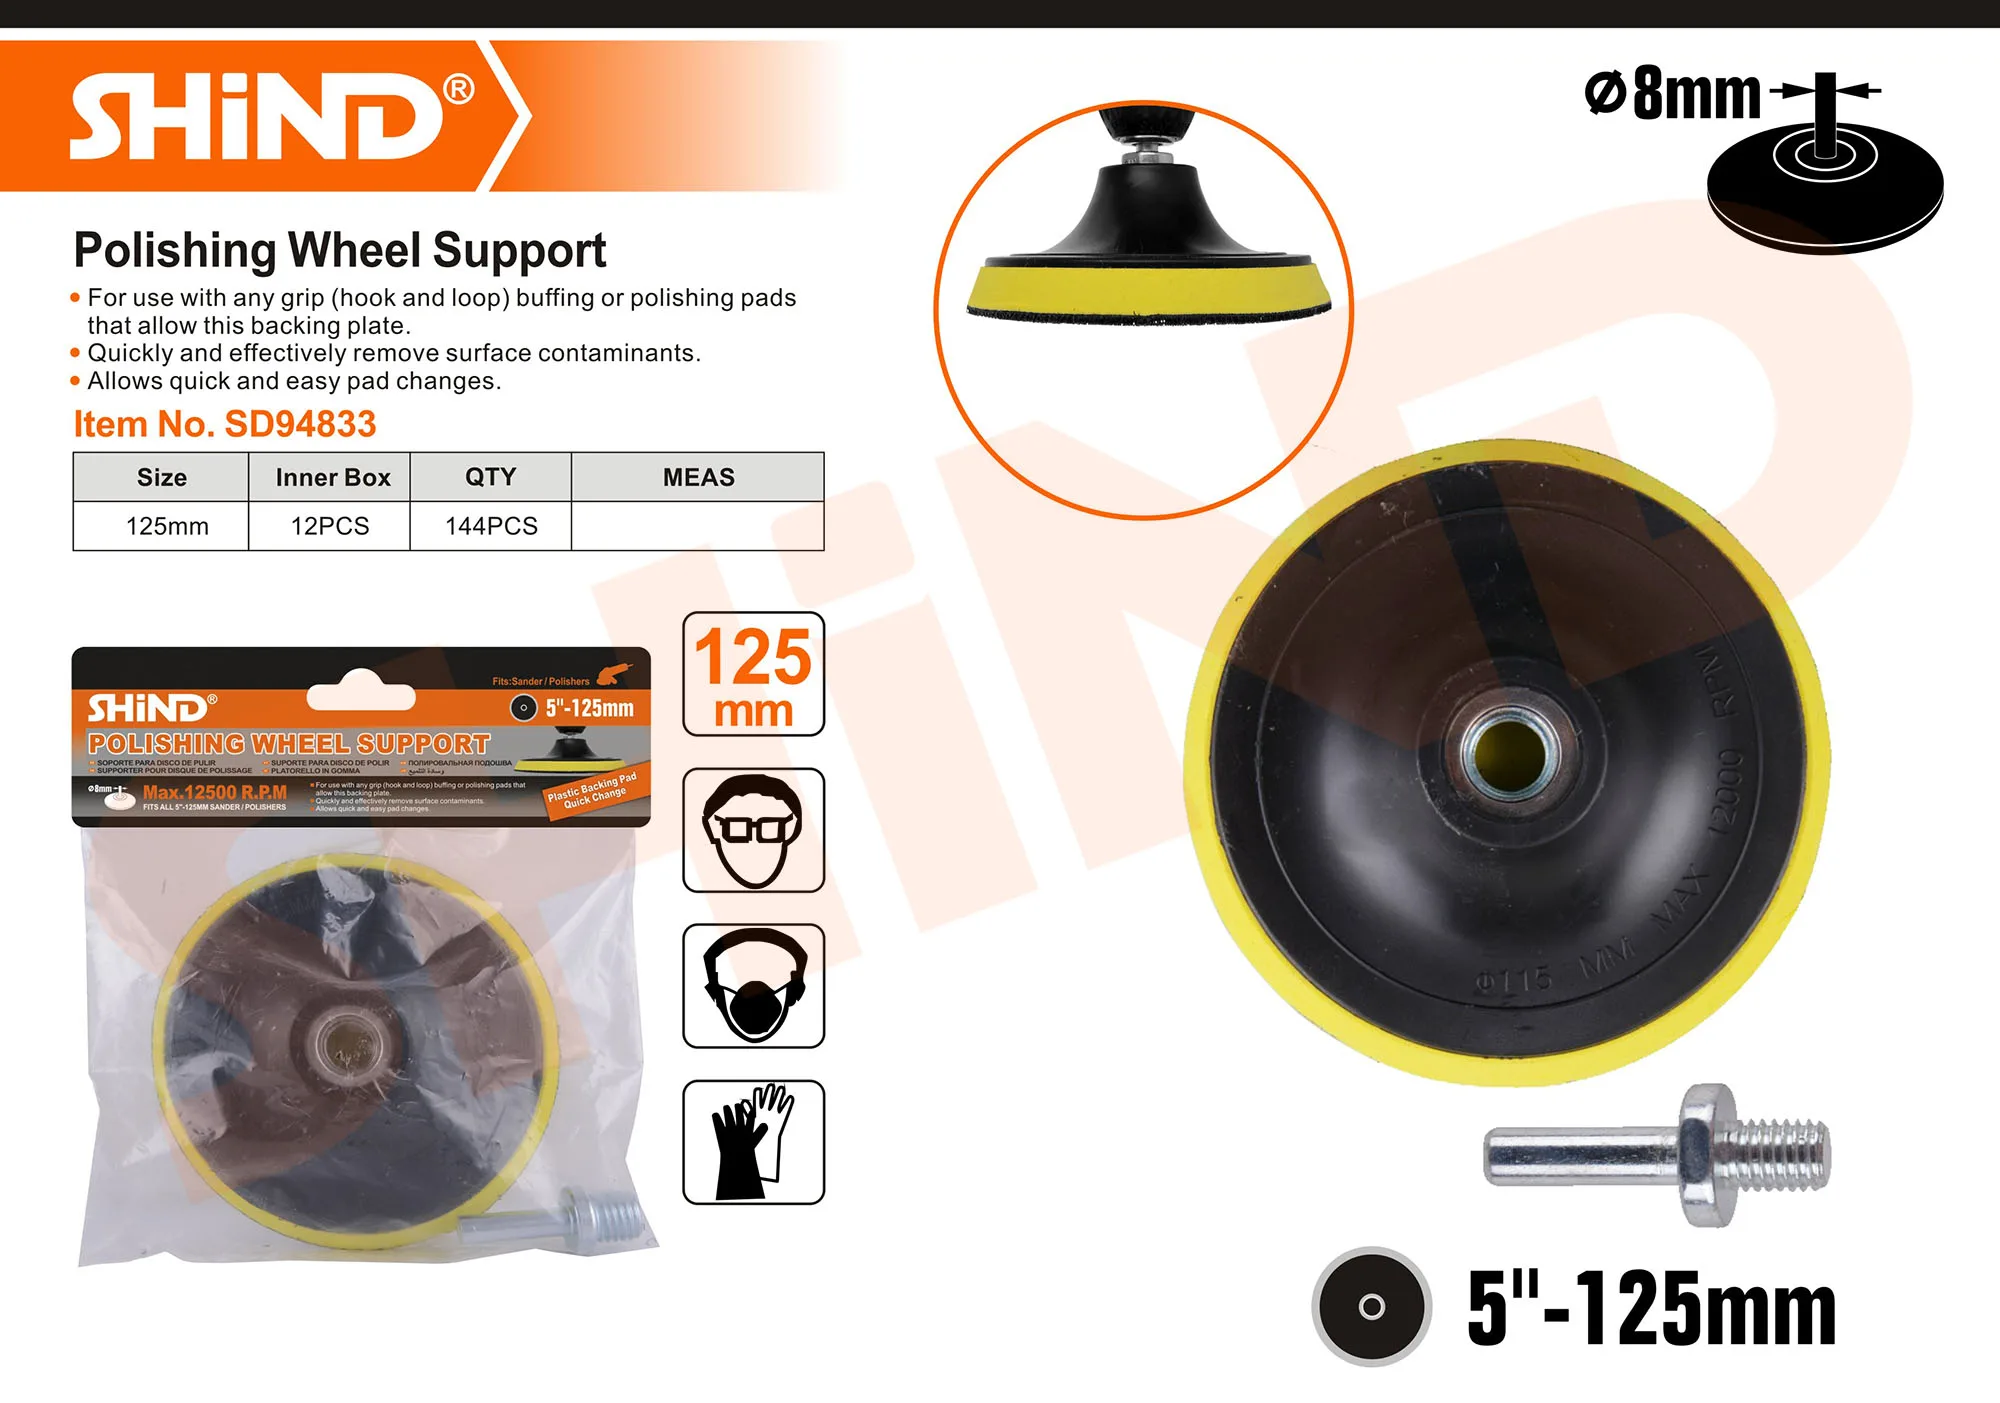
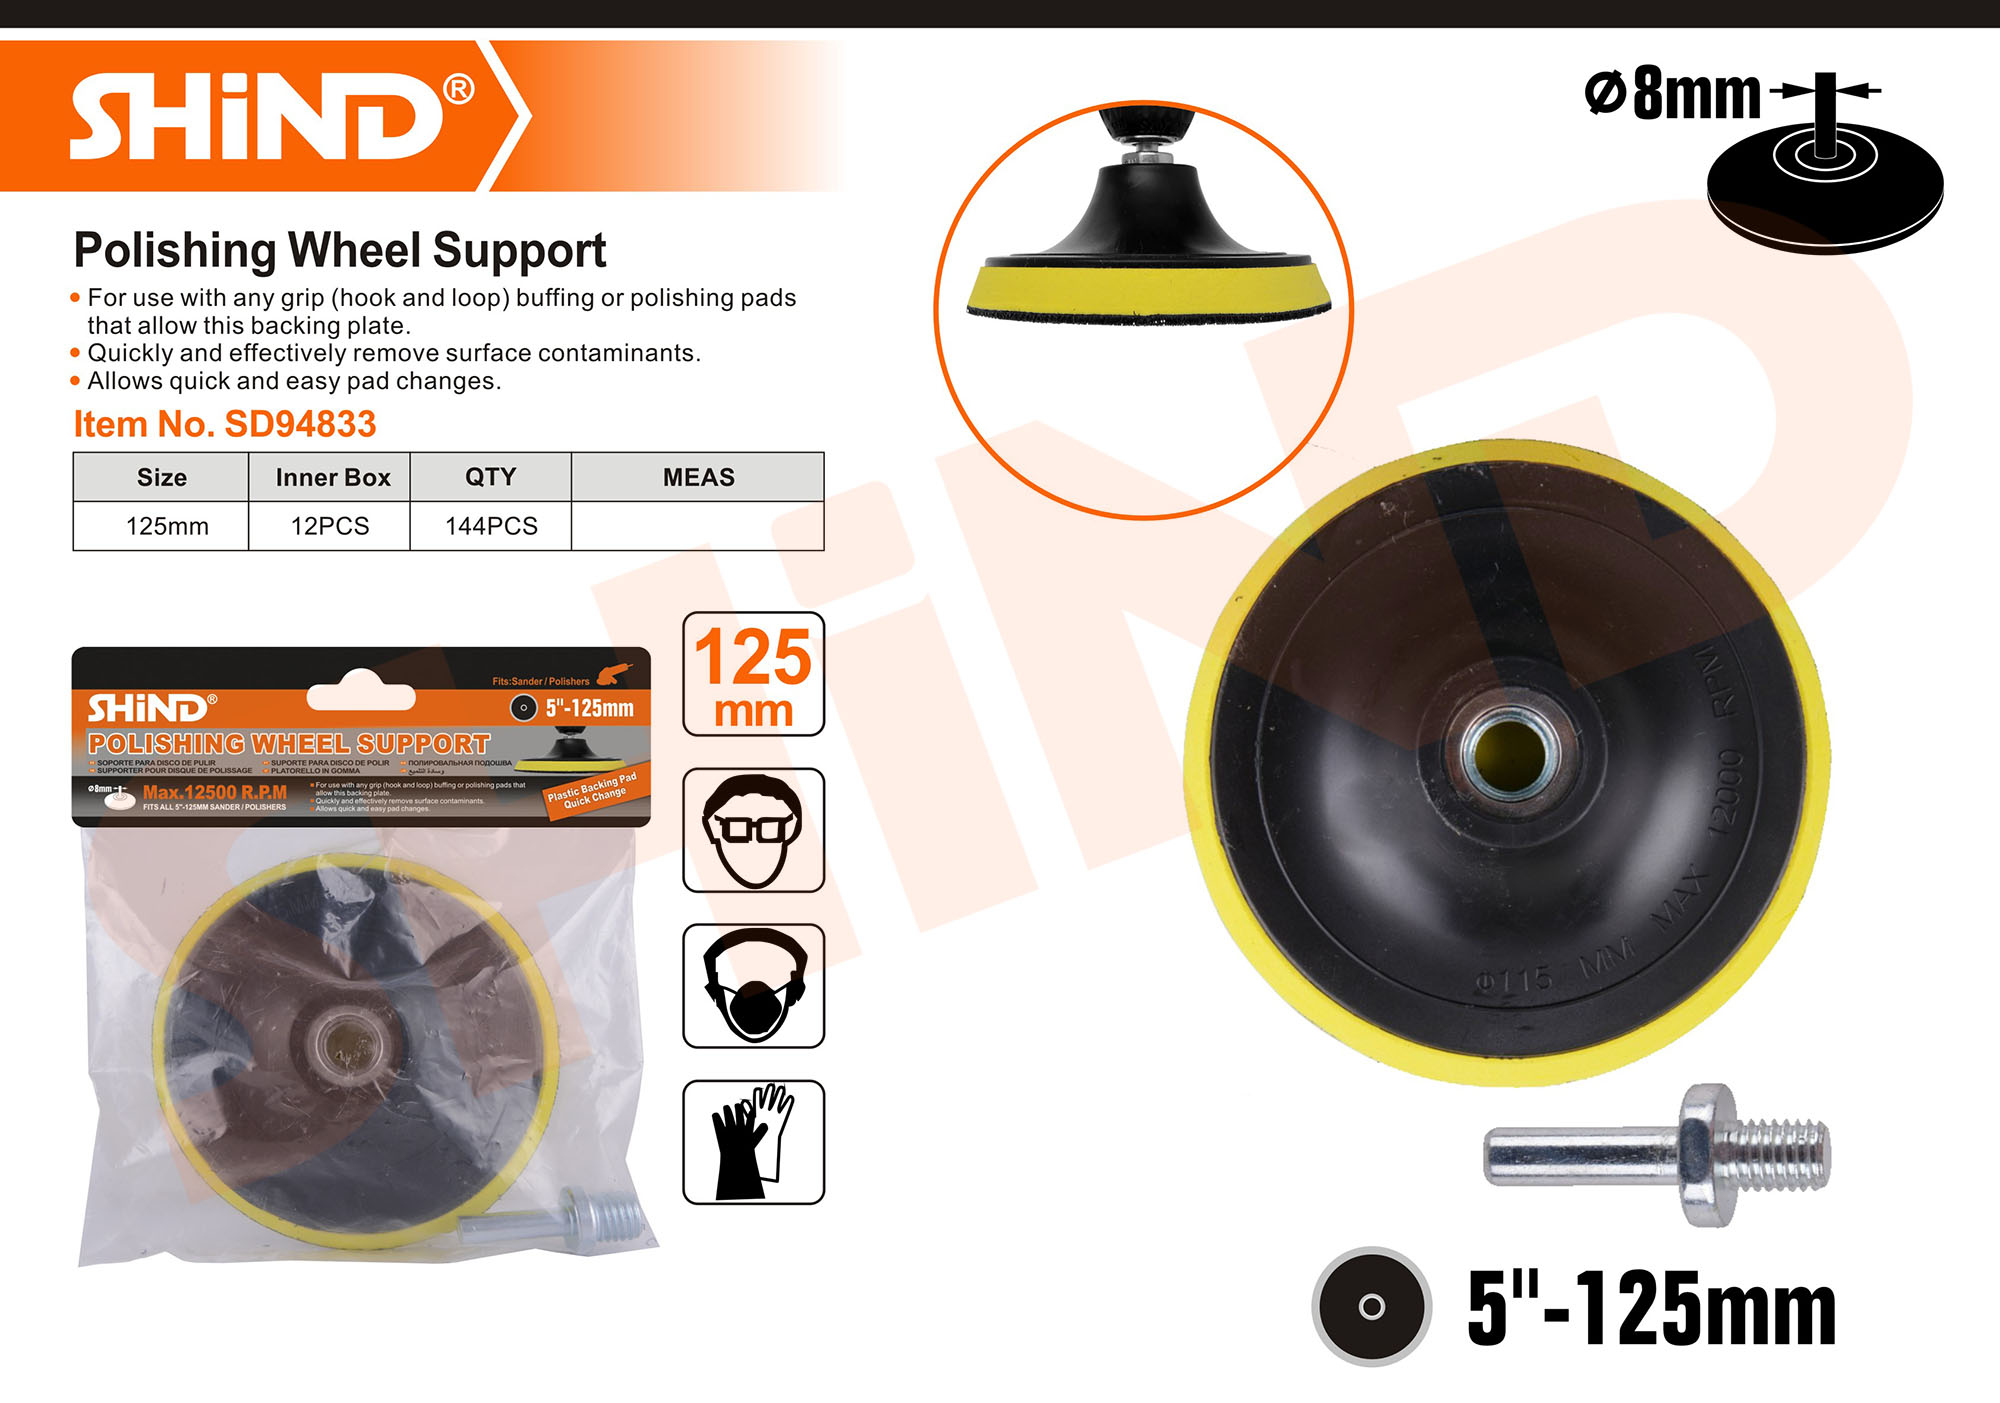
Professional SHIND 125mm Polishing Pad Backing Plate Hook & Loop - Model SD94833
₪14
View product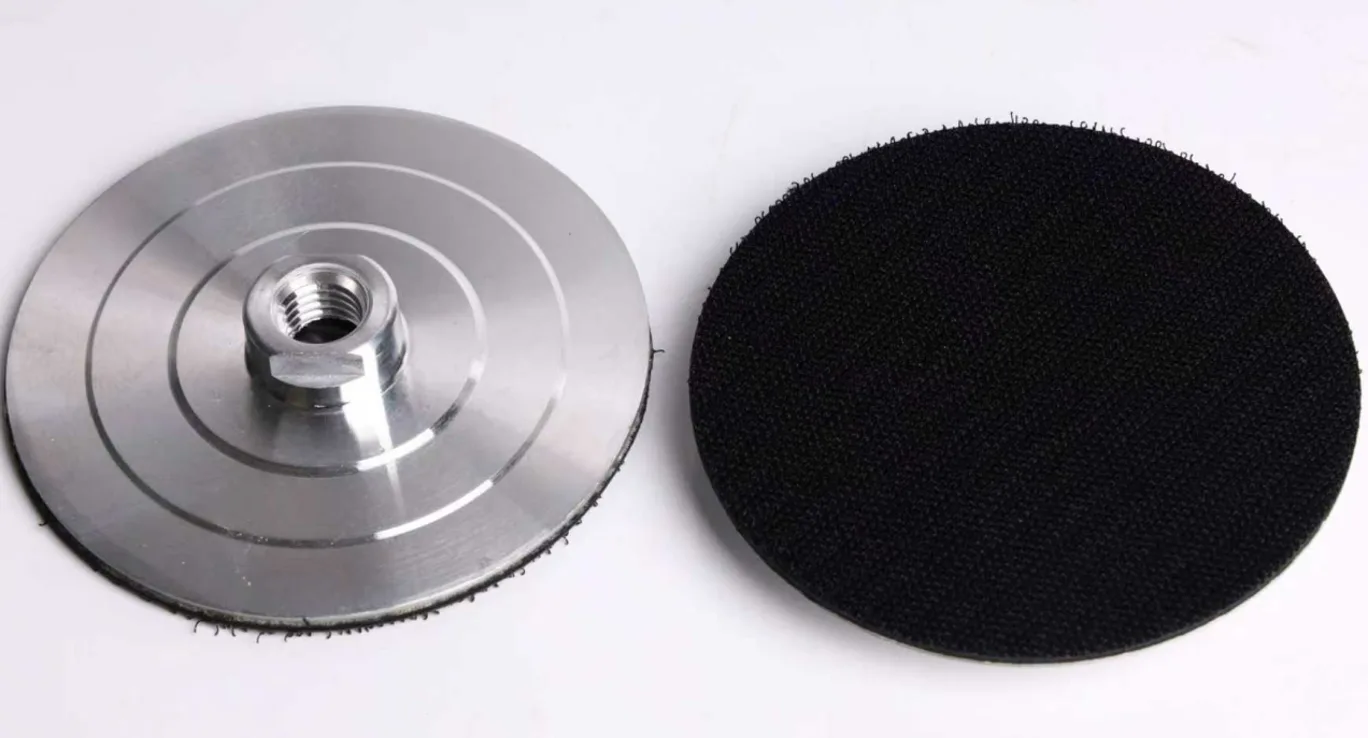
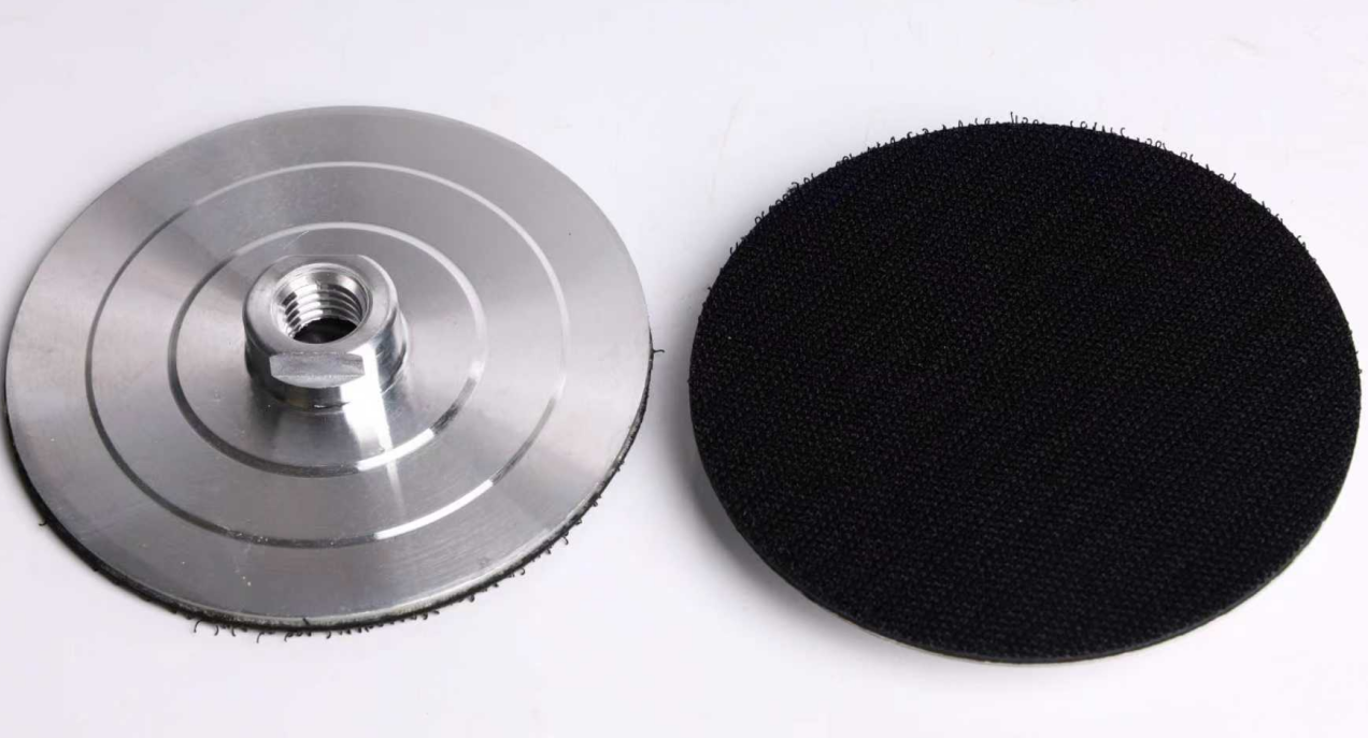
Professional TLS S-Grade Stainless Steel Backing Pad - 100mm (4") Diameter - 5mm/10mm Thickness ProTls
₪38
View product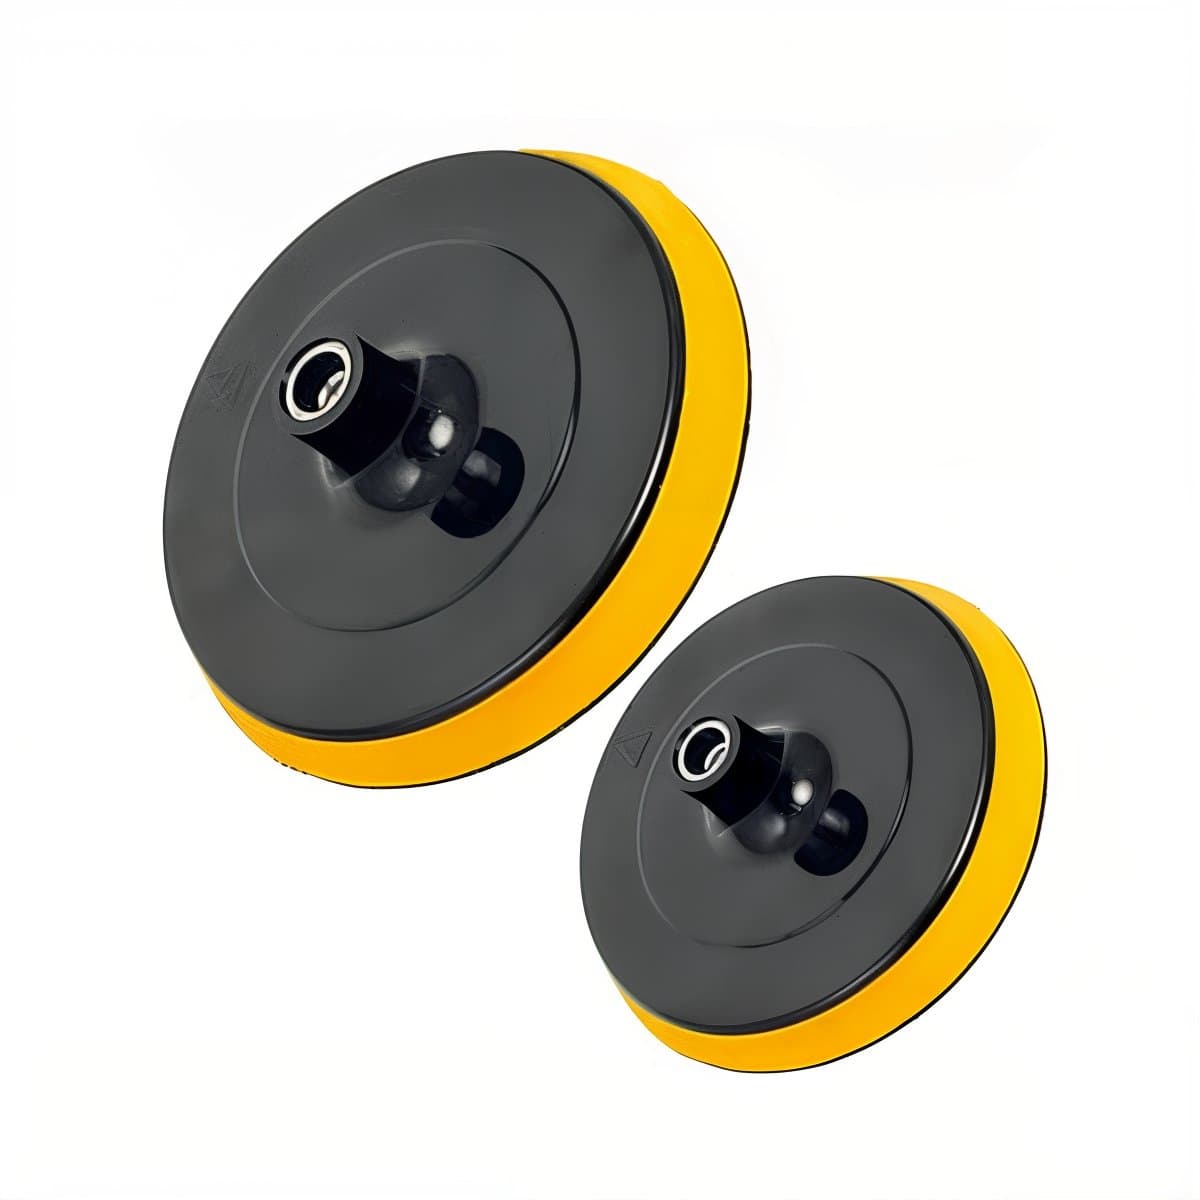
Scotch Holder – Fits Sizes 4-5 and 7
₪12
View productFAQ ❓
What is the difference between Hook & Loop and bolt-on discs?
Hook & Loop allows disc changes in seconds without tools — ideal when frequent grit changes are needed. Bolt-on is the older system and suits heavy discs under high-pressure loads.
Why use a stainless steel (SS) pad?
SS pads are designed for wet work and high-humidity environments — they won't rust. A standard pad will corrode quickly when used wet.
How do I know when a pad needs replacing?
Signs: Hook & Loop no longer grips new discs, unusual vibration, unbalanced rotation. Pads should generally be replaced every 6–12 months of active use.
Conclusion
With the right backing pad, every grinding and polishing job is faster and more precise. Choose SHIND and ProTls pads at ramo.co.il — direct pricing and full stock.