
Artificial grass installs usually fail because of a bad base or the wrong adhesive — not the turf itself. This guide focuses on durable seams and edges.
Quick Summary
- Dry, clean, stable base before any glue
- Use turf-specific adhesive (not regular PVA)
- Seam tape + adhesive for joints
- Allow cure time before heavy traffic
- In hot weather, work in cooler hours when possible
Base prep matters more than the glue
Make sure the substrate (concrete / compacted base / wood) is stable, clean and dry. Dust, oils or moisture kill adhesion.
📋Bonding step by step
Align pile direction
Keep fiber direction consistent across rolls for invisible seams.
Cut clean seams
Straight cuts prevent ridges and gaps.
Apply turf adhesive
Use professional artificial grass adhesive (RamoBond 500 g) evenly on seam tape.
Join and press
Bring edges together and keep pressure during initial set.
Secure edges
Fix perimeters as required. Avoid heavy foot traffic before full cure.
Common mistakes
- Using silicone/PVA instead of turf adhesive
- Gluing on wet or dusty bases
- Seams without proper tape
- Walking the seam immediately
Recommended products
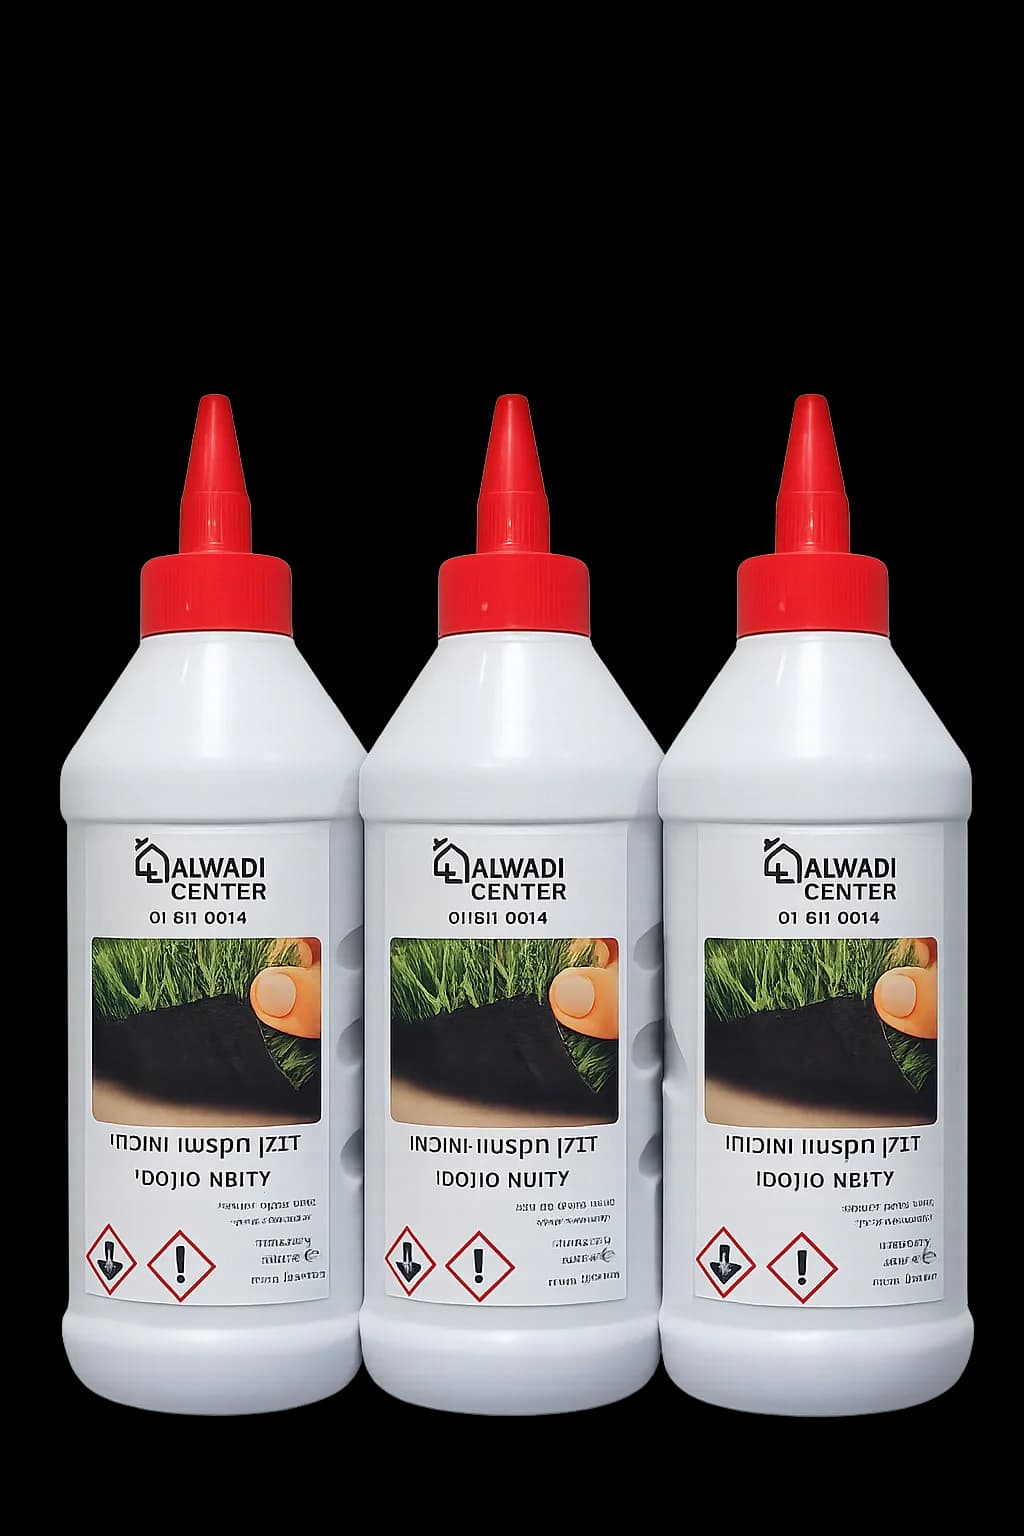
Professional and High-Quality Adhesive for Synthetic Grass 500 grams
Dedicated turf adhesive 500 g
₪43
View product
SEALFIX - High-tech professional polymer adhesive with high initial grip up to 350 kg, 290 ml
High grab on hard bases
₪20
View product
SUPER 77 – Professional MS Polymer Adhesive and Sealant High Strength 290 ml
MS Polymer for problem spots
₪22
View productFAQ
How much adhesive per m²?
Usually calculate by seam length (linear meters), not full turf area.
Can I glue turf onto tiles?
Yes if the surface is stable and fully clean/dry.
Seam lifting — what now?
Lift carefully, clean residue, re-apply turf adhesive and press. Do not “fix” with clear silicone.
Conclusion
Prep + turf adhesive + cure time = seams that stay flat. Start with RamoBond artificial grass adhesive.