
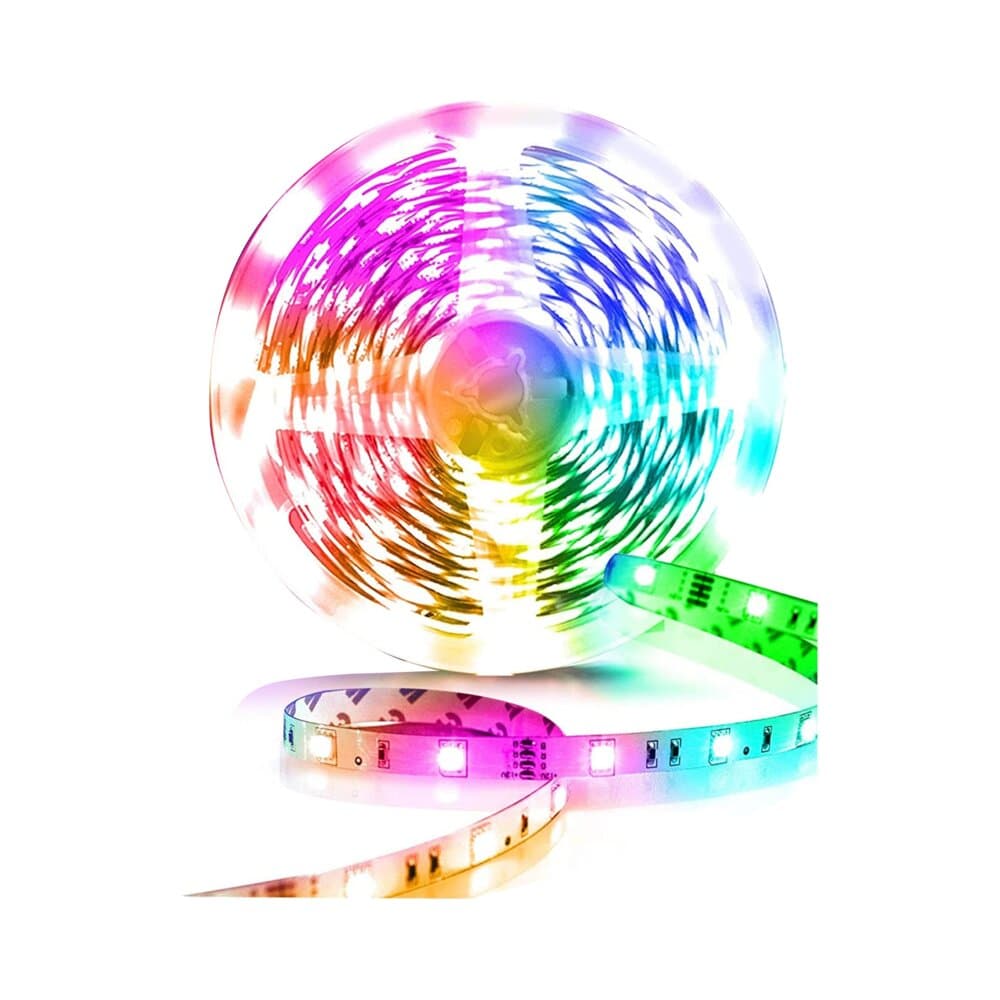
Hidden lighting under kitchen cabinets or behind the TV can completely transform your home's atmosphere — and an LED strip is the cheapest, simplest way to get it. This guide explains how to choose the right LED strip, wire it to a power supply, and cut it safely without damaging its function.
Quick Summary
🔌 Make sure the strip's voltage (24VDC) matches the power supply's output voltage
✂️ Cutting is only allowed at marked points with a scissor icon on the strip
🎨 An RGB strip lets you change colors; warm white (30K) or cool white (60K) suits fixed lighting
💧 The IP65 version is water-resistant and suits bathrooms, kitchens, or outdoor use
🔧 Connect using LED strip connectors or soldering — no electrician needed for most home installations
What to prepare before you start? 🧰
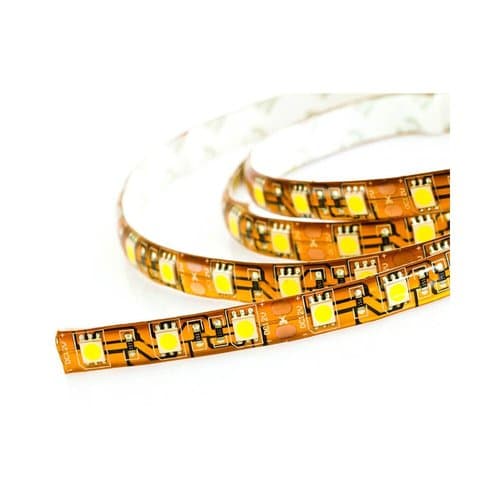
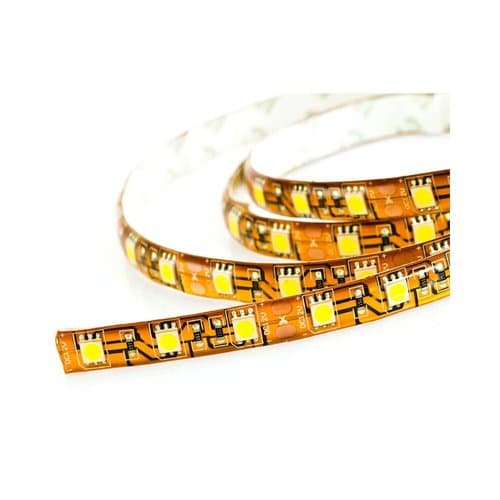
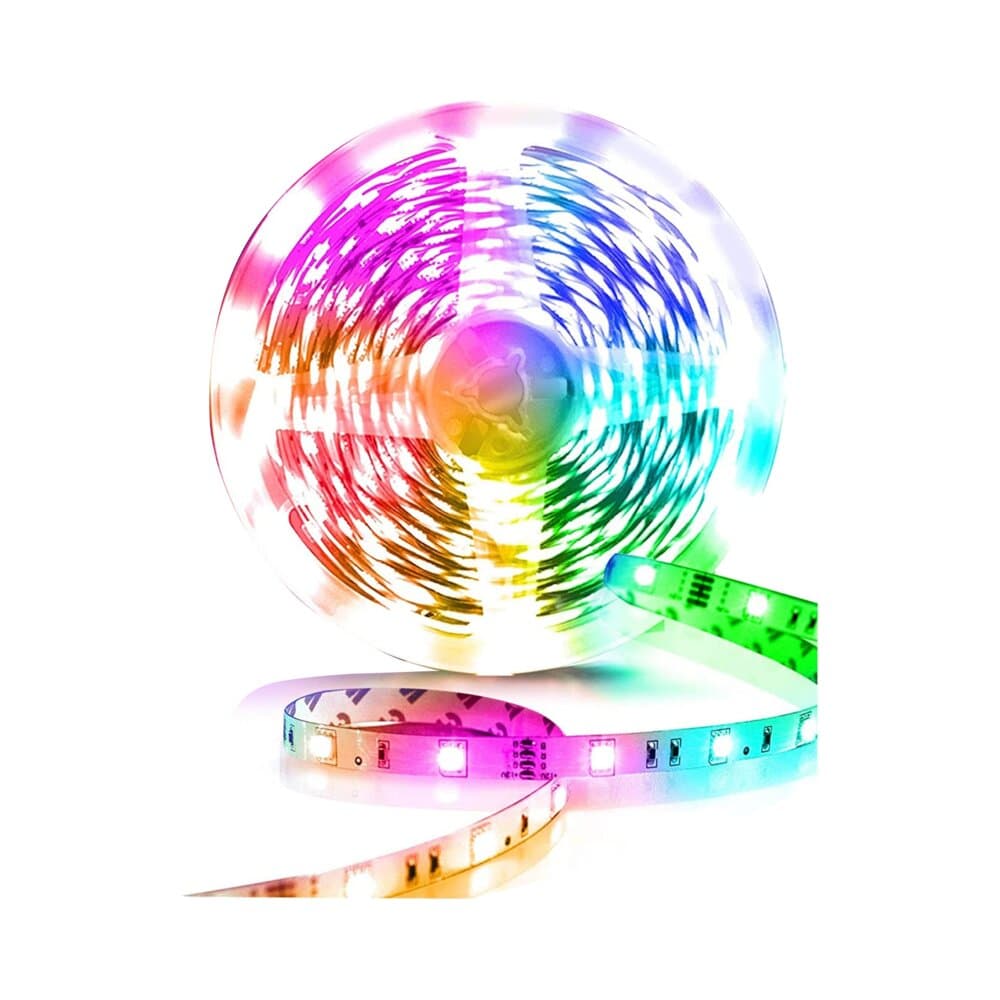
Before installation, prepare: sharp scissors to cut the strip at marked points, a 24VDC power supply with adequate wattage (at least 20% above the strip's consumption), LED strip connectors or a soldering iron with solder, and the strip itself — a 5m RGB strip 24VDC 48W IP65 for changing colors, a 5m STRIP LED 24VDC 48W 60K for cool white light, a 5m STRIP LED 24VDC 48W 30K for warm white light, or a 5m RGB strip 24VDC 144W for higher brightness.
⚠️ Before you start
Before connecting the strip, make sure the power supply is disconnected from the outlet. Correct polarity (red to red, black to black) is critical — reversing it can burn out the strip or the power supply.
Step by step — how to do it right 👷
- Measure the area: measure the required installation length (e.g. under a kitchen cabinet or around a ceiling) to know how many meters of strip you need.
- Choose the power supply: pick a 24VDC supply rated at least 20% above the strip's total consumption (a 48W strip needs at least a 60W supply).
- Cut if needed: cut the strip only at marked points with a scissor icon and copper pad, never in the middle of a segment.
- Wire to the power supply: twist red to red and black to black, securing with a wire nut or light soldering.
- Stick to the surface: clean the surface of dust and grease, peel the backing off the strip's adhesive tape, and apply it in a straight line.
- Connect additional segments: if joining two strip sections, use dedicated LED strip connectors matching the strip type (RGB or single color).
- Test operation: connect the power supply to the outlet and confirm the entire strip lights up evenly at normal brightness.
💡 Pro tip
Before final adhesion, it's best to power on the strip for a test run — this lets you catch wiring issues before it's permanently stuck down and hard to remove.
Products to buy at ramo.co.il 🛒
| Image | Product | Price (incl. VAT) | Stock | Buy |
|---|---|---|---|---|
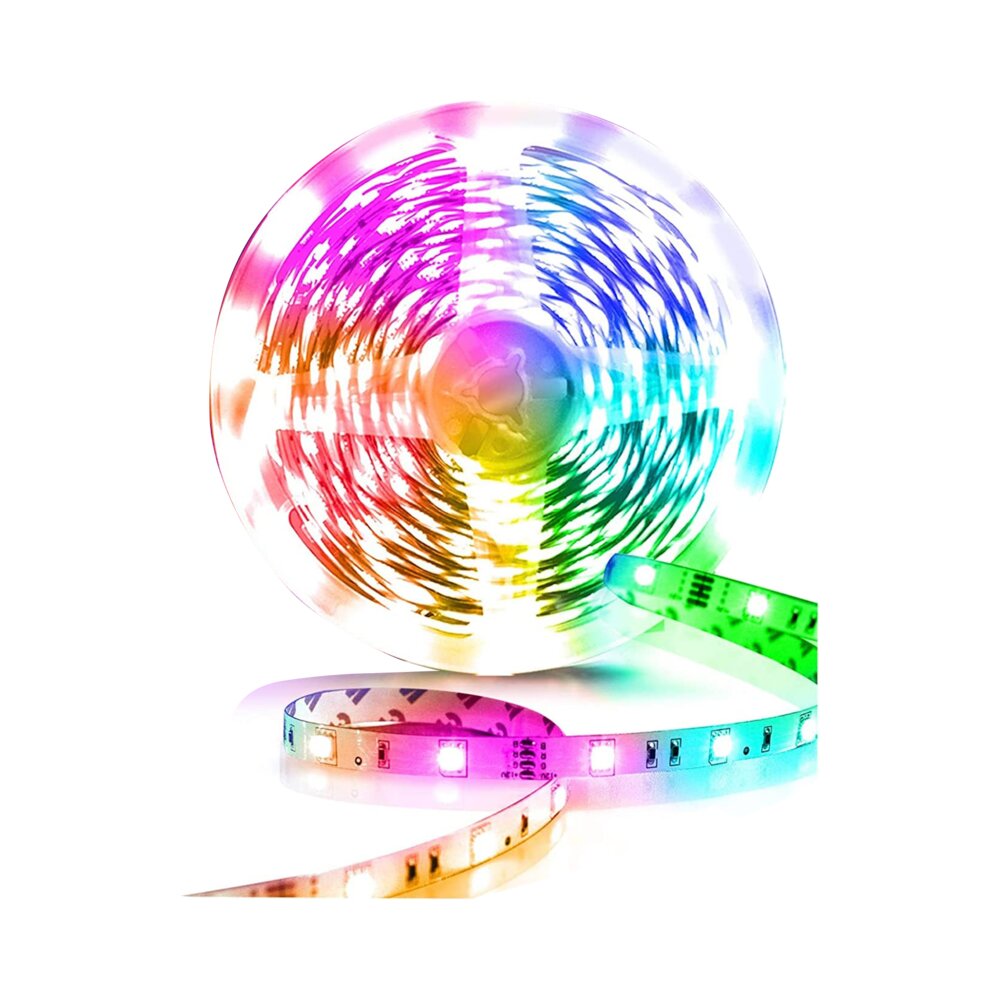 | פס לד 5 מטר RGB 24VDC 48W IP65 Nisko | **₪80** incl. VAT | ✅ In stock | 🛒 Buy |
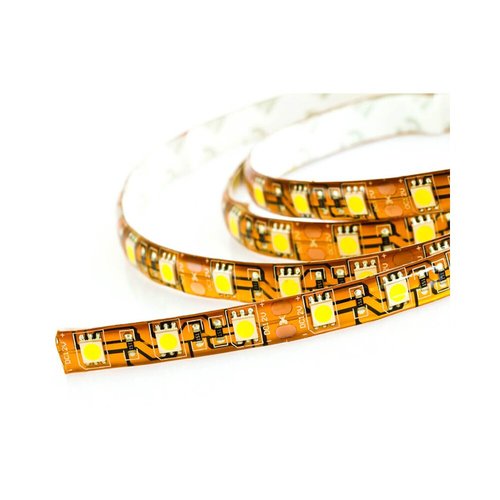 | פס לד 5 מטר STRIP LED 24VDC 48W 60K Nisko | **₪42** incl. VAT | ✅ In stock | 🛒 Buy |
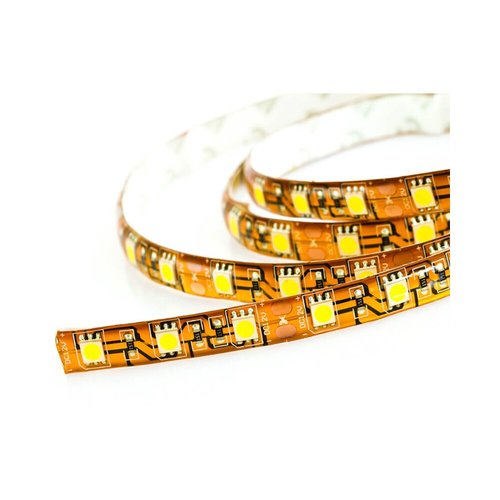 | פס לד 5 מטר STRIP LED 24VDC 48W 30K Nisko | **₪43** incl. VAT | ✅ In stock | 🛒 Buy |
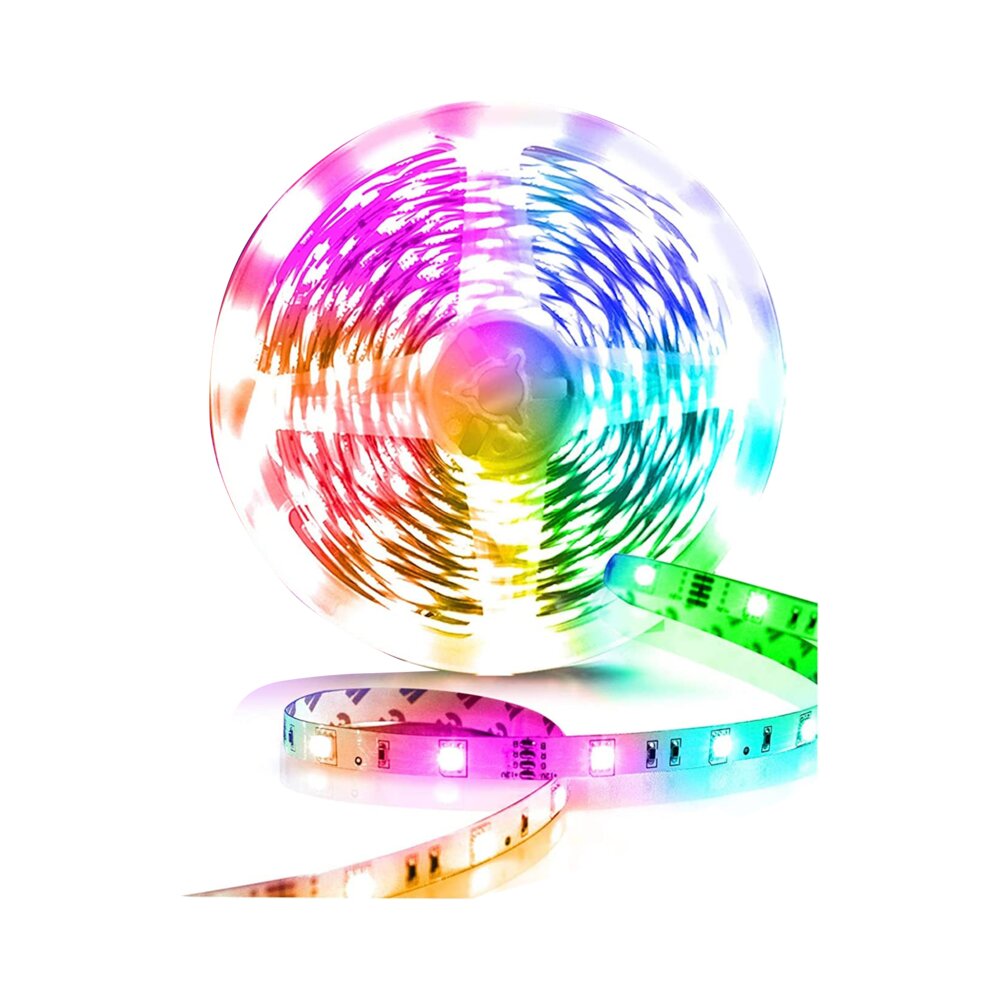 | פס לד 5 מטר RGB 24VDC 144W Nisko | **₪79** incl. VAT | ✅ In stock | 🛒 Buy |
Products you'll need ⭐
Frequently Asked Questions ❓
Where can I cut the LED strip?
Only at points marked with a line and scissor icon on the strip — usually every 5-10cm. Cutting elsewhere will damage the circuit.
What power supply does an LED strip need?
A supply rated at least 20% above the strip's consumption. For a 48W strip, for example, a 60W or higher supply is recommended to avoid overload.
Is an IP65 LED strip suitable for outdoor or bathroom use?
Yes, IP65 rating provides protection against water and splashes and suits kitchens, bathrooms, or protected outdoor use.
What's the difference between an RGB strip and a warm/cool white strip?
An RGB strip lets you change colors via a remote or controller, while a white strip (30K warm or 60K cool) gives fixed, uniform-tone light for everyday lighting.
Conclusion
An LED strip is the fastest way to add ambiance and accent lighting to your home without renovation. Choose the right tone and brightness, and wire it up with confidence.