
Building a drywall partition is one of the most common tasks in Israeli construction and renovation. Gypsum boards allow fast creation of interior walls, ceilings, and smooth surfaces at low cost. This guide explains step-by-step how to install gypsum boards — from metal framing to final finishing.
Quick Summary
✅ Tracks and studs are the drywall frame foundation — always start with them
✅ Stud spacing: 40 cm in wet rooms, 60 cm in dry rooms (center to center)
✅ Screws every 25 cm at edges, 30 cm in center — sunk 1 mm below board surface
✅ Wet rooms require moisture-resistant green boards or DensShield only
💡 All gypsum materials available at ramo.co.il from ₪7
What You Need Before Starting 🧰
Framing: U-tracks for floor/ceiling, C-studs (gypsum stud 3m), sheet metal screws for stud-to-track connections.
Boards: White for dry areas (120×260 cm), green for wet rooms (kitchen, balcony), DensShield for shower/bathroom.
Tools & Materials: 3.5×35mm drywall screws, jointing compound, fiberglass tape, gypsum knife, level, chalk line, drill with drywall bit.
Quantities per 10 m² wall: ~6 studs (60cm spacing), 4 tracks (2 floor + 2 ceiling), 8 boards 120×260cm, 120–150 drywall screws.
⚠️ Important Before You Start
Never connect boards on both sides of the partition to the same stud — offset joints between sides or the wall will crack. Never create a 4-board corner junction — it always cracks. Per Israeli Standard SI 1490: mechanical connection only, no adhesive.
Step-by-Step — How to Do It Right 👷
Step 1 — Mark the wall: Mark the wall position on the floor with chalk line. Verify straight with level — max 2 mm deviation per meter.
Step 2 — Install tracks: Attach U-tracks to floor and ceiling with screws and anchors — max 60 cm spacing. No adhesive!
Step 3 — Install studs: Cut C-studs to room height minus 10 mm. Spacing: 40 cm (wet rooms) or 60 cm (dry rooms), center-to-center.
Step 4 — Insulation: Before closing the second side, insert rock wool between studs with no gaps.
Step 5 — Fasten boards: Fix boards from one side. Screws: 25 cm at edges, 30 cm in center. Head sunk 1 mm below surface. Offset joints between sides!
Step 6 — Finish joints: Apply jointing compound + fiberglass tape on all joints. Dry time: 24 hours. Sand smooth before painting.
💡 Pro Tip
Mark an X on screws that went too deep while fastening — you'll know exactly where extra compound is needed before painting. Saves significant time during finishing.
Products Available at ramo.co.il 🛒
| Image | Product | Price (incl. VAT) | Stock | Buy |
|---|---|---|---|---|
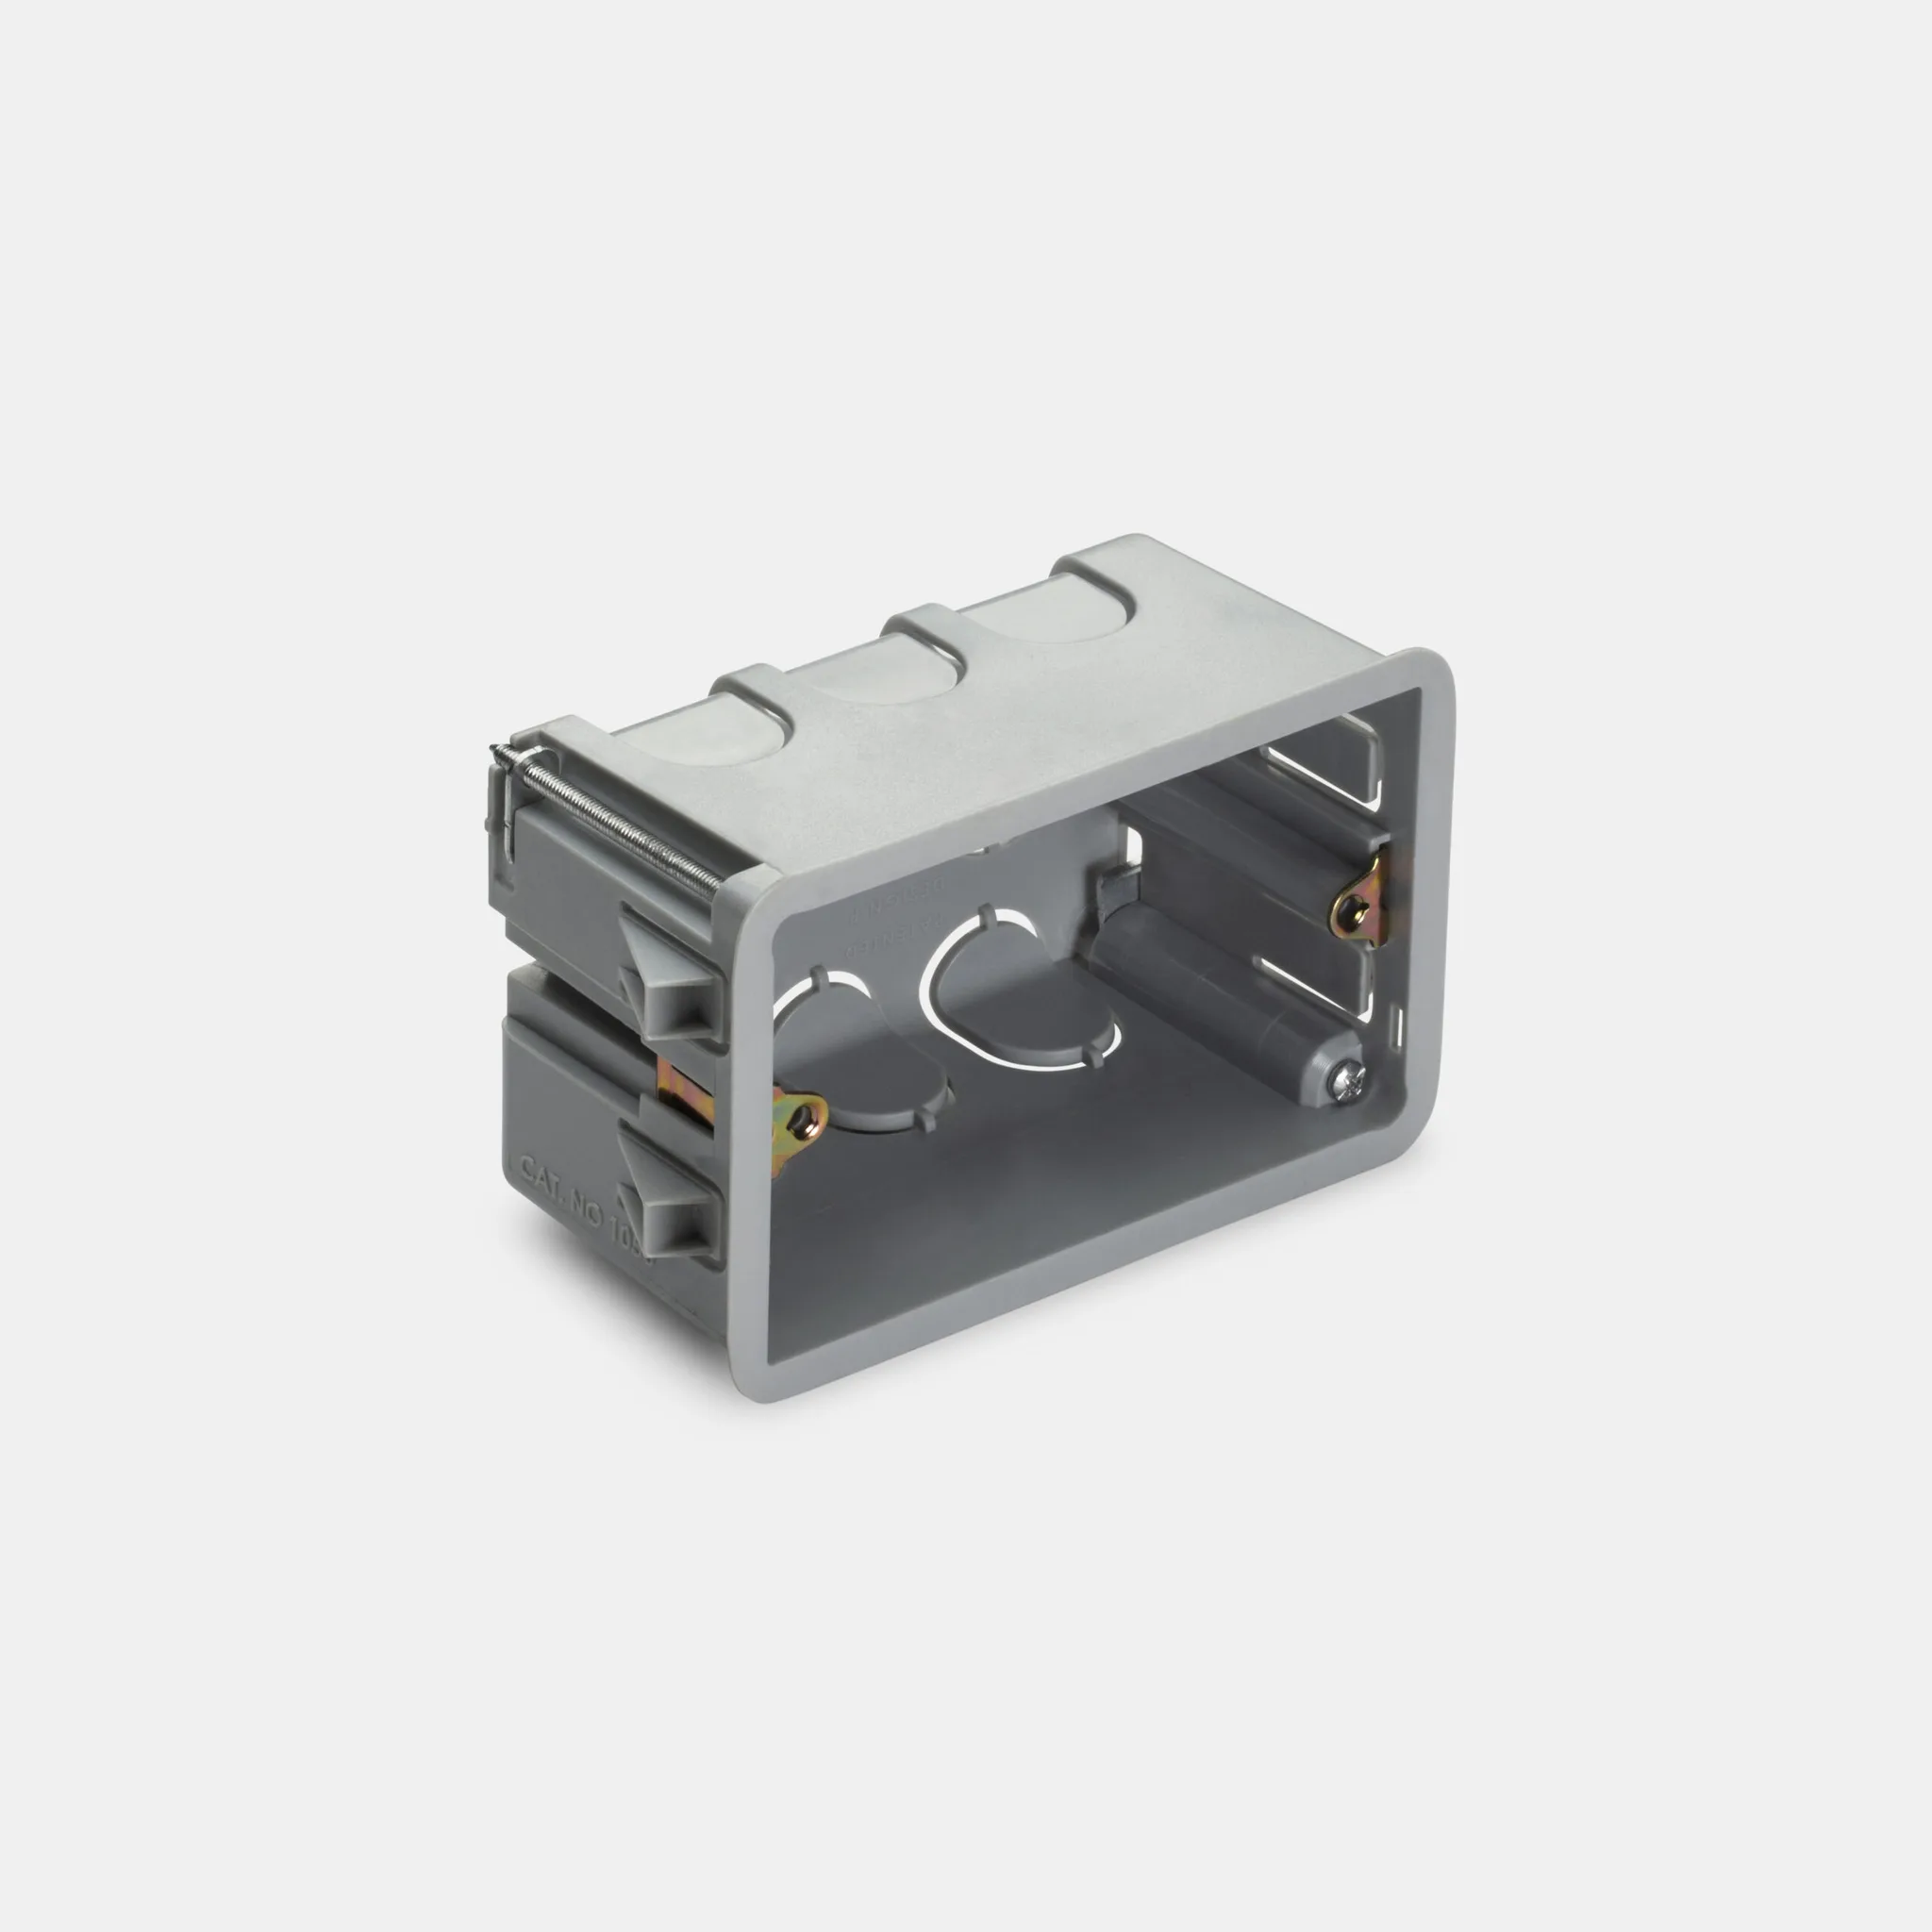
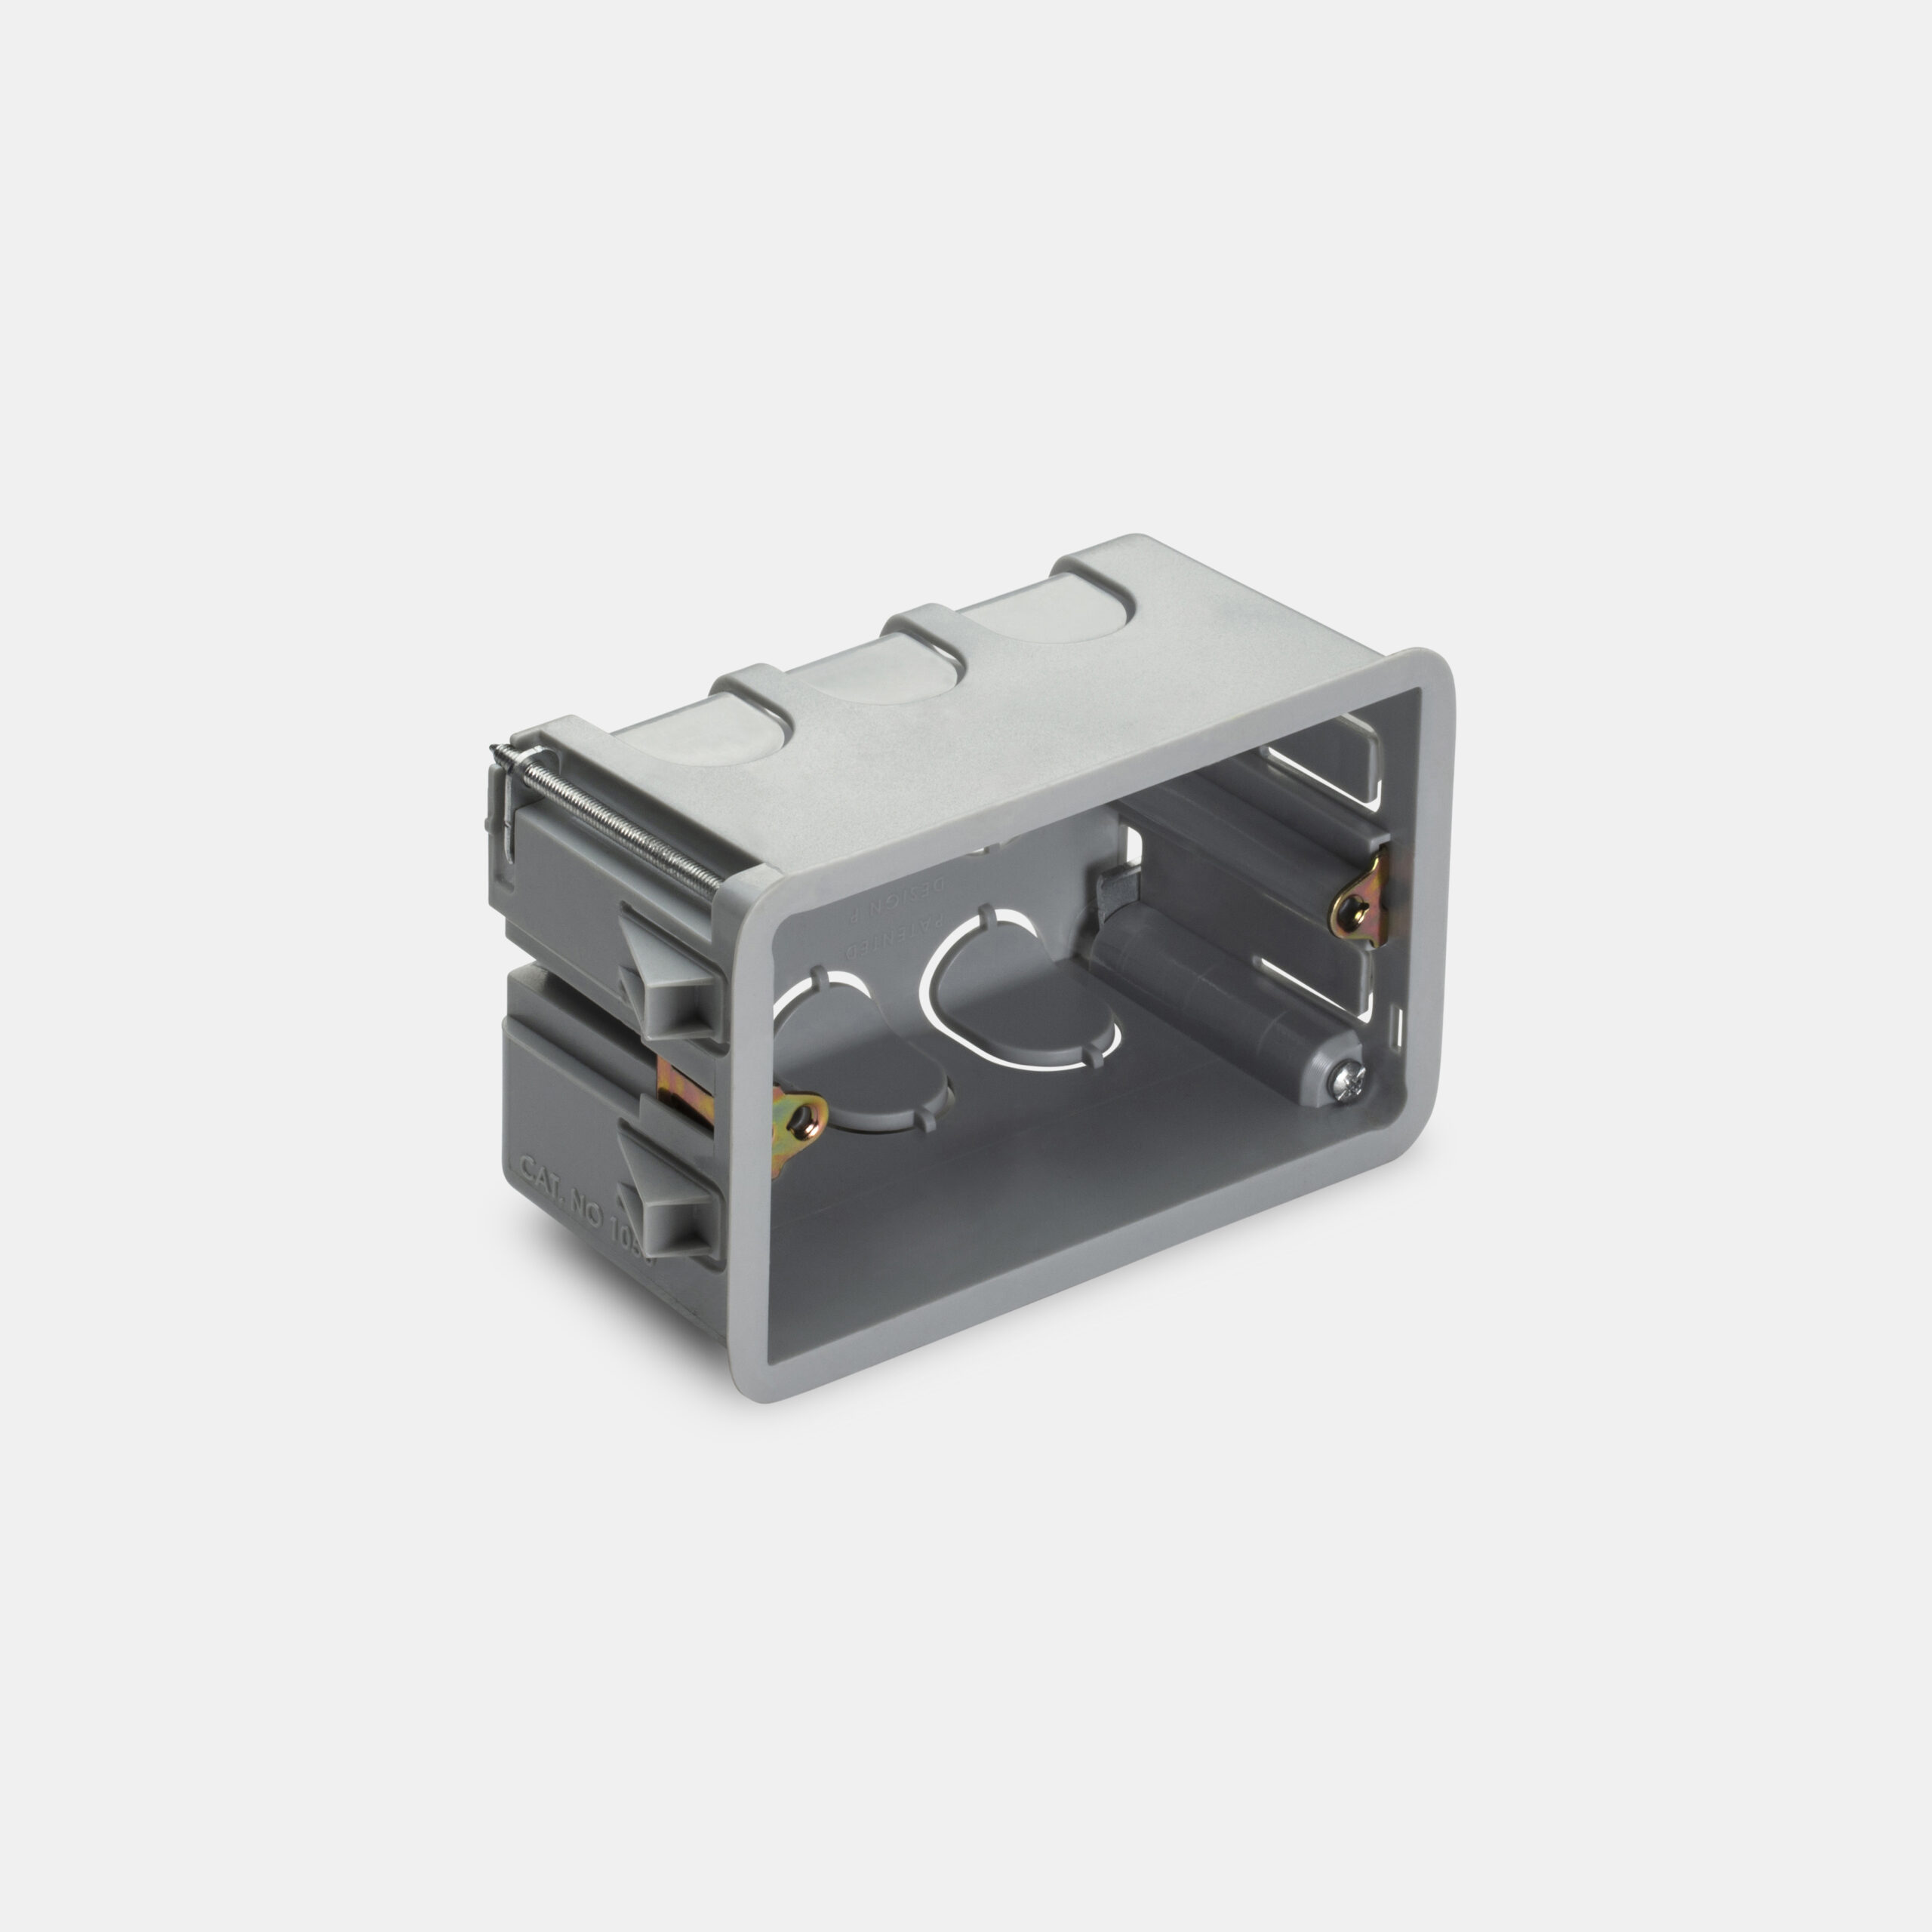 | 3-Module Box for Drywall – Patent + Screws | **₪7** incl. VAT | ✅ In Stock | 🛒 Buy |
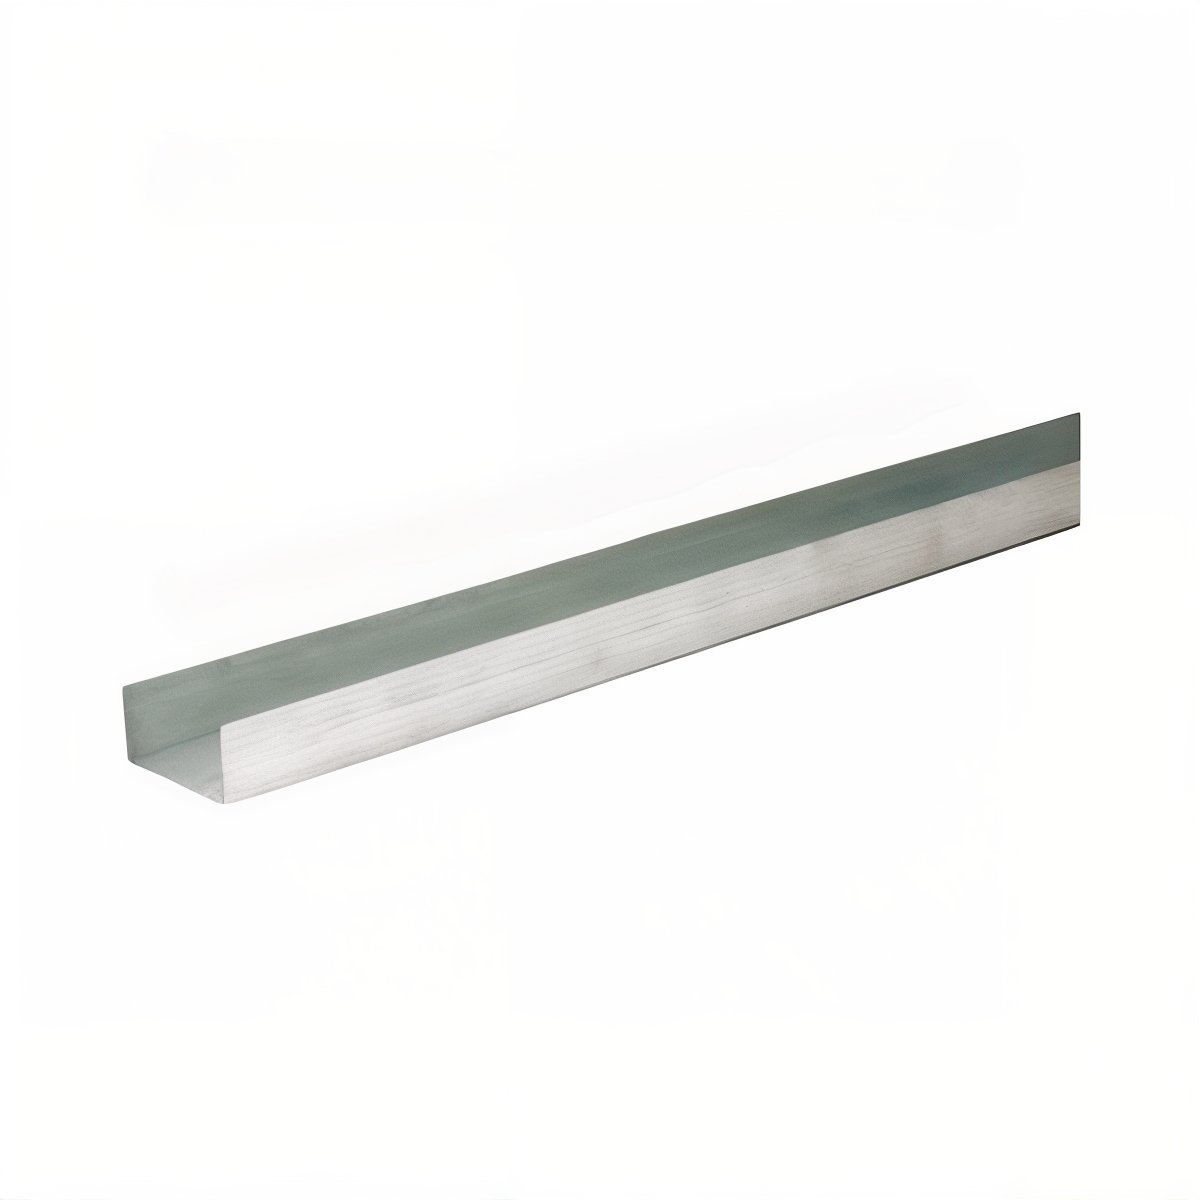 | Gypsum Track 29mm – 3m | **₪9** incl. VAT | ✅ In Stock | 🛒 Buy |
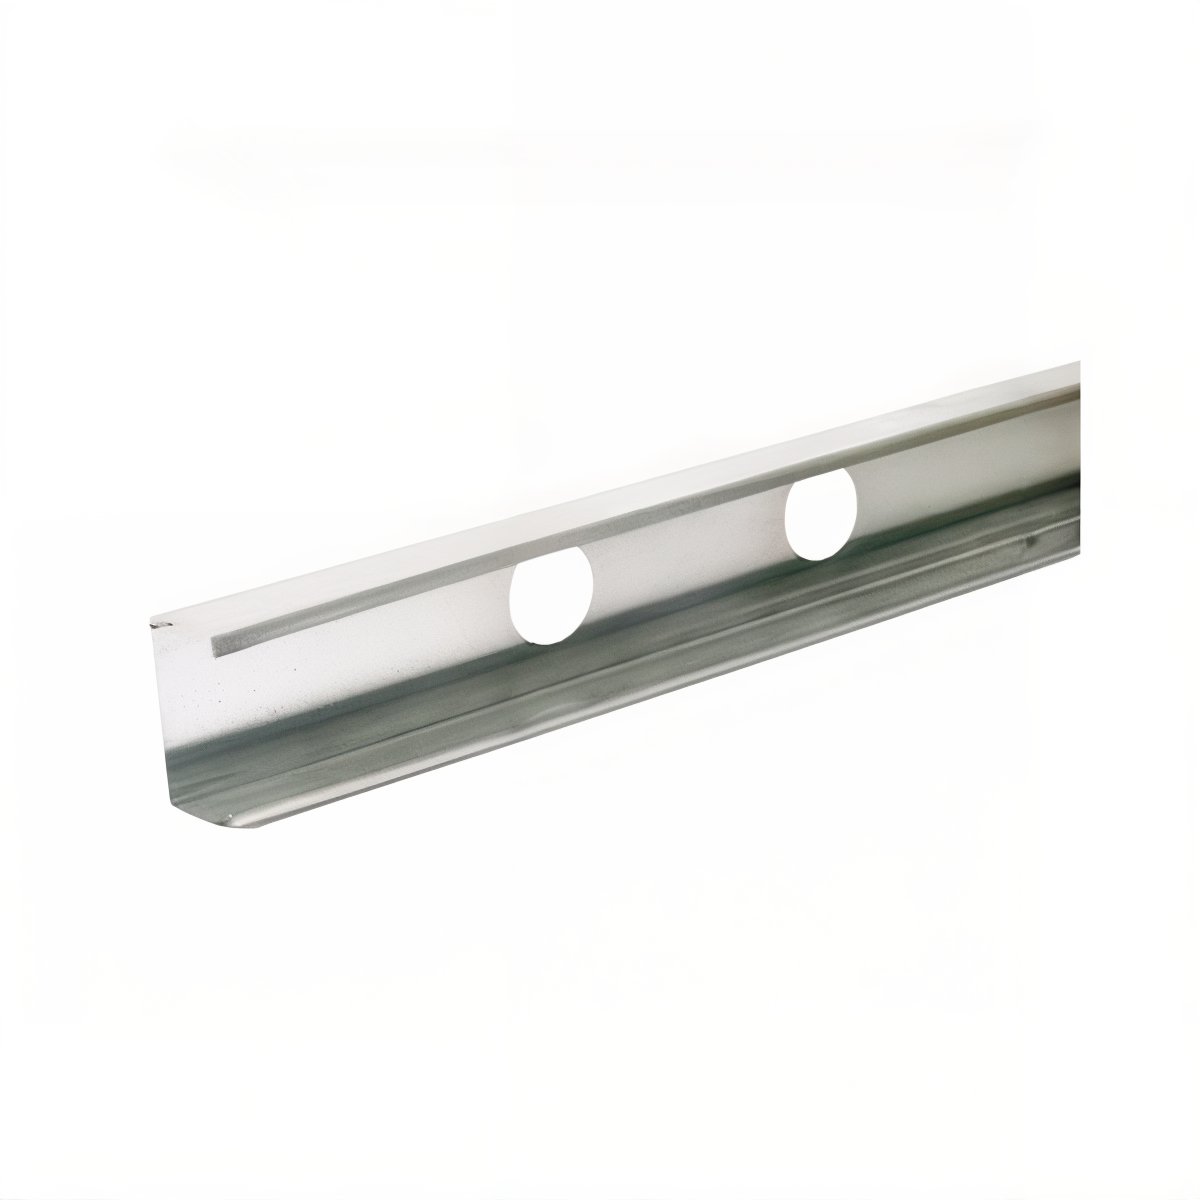 | Gypsum Stud 3m | **₪20** incl. VAT | ✅ In Stock | 🛒 Buy |
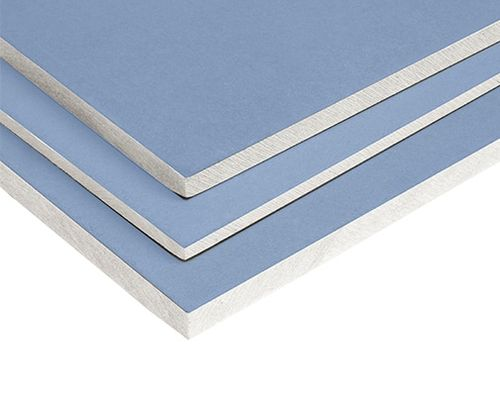 | Gypsum Board Israeli Standard 120 / 260 cm | **₪50** incl. VAT | ✅ In Stock | 🛒 Buy |
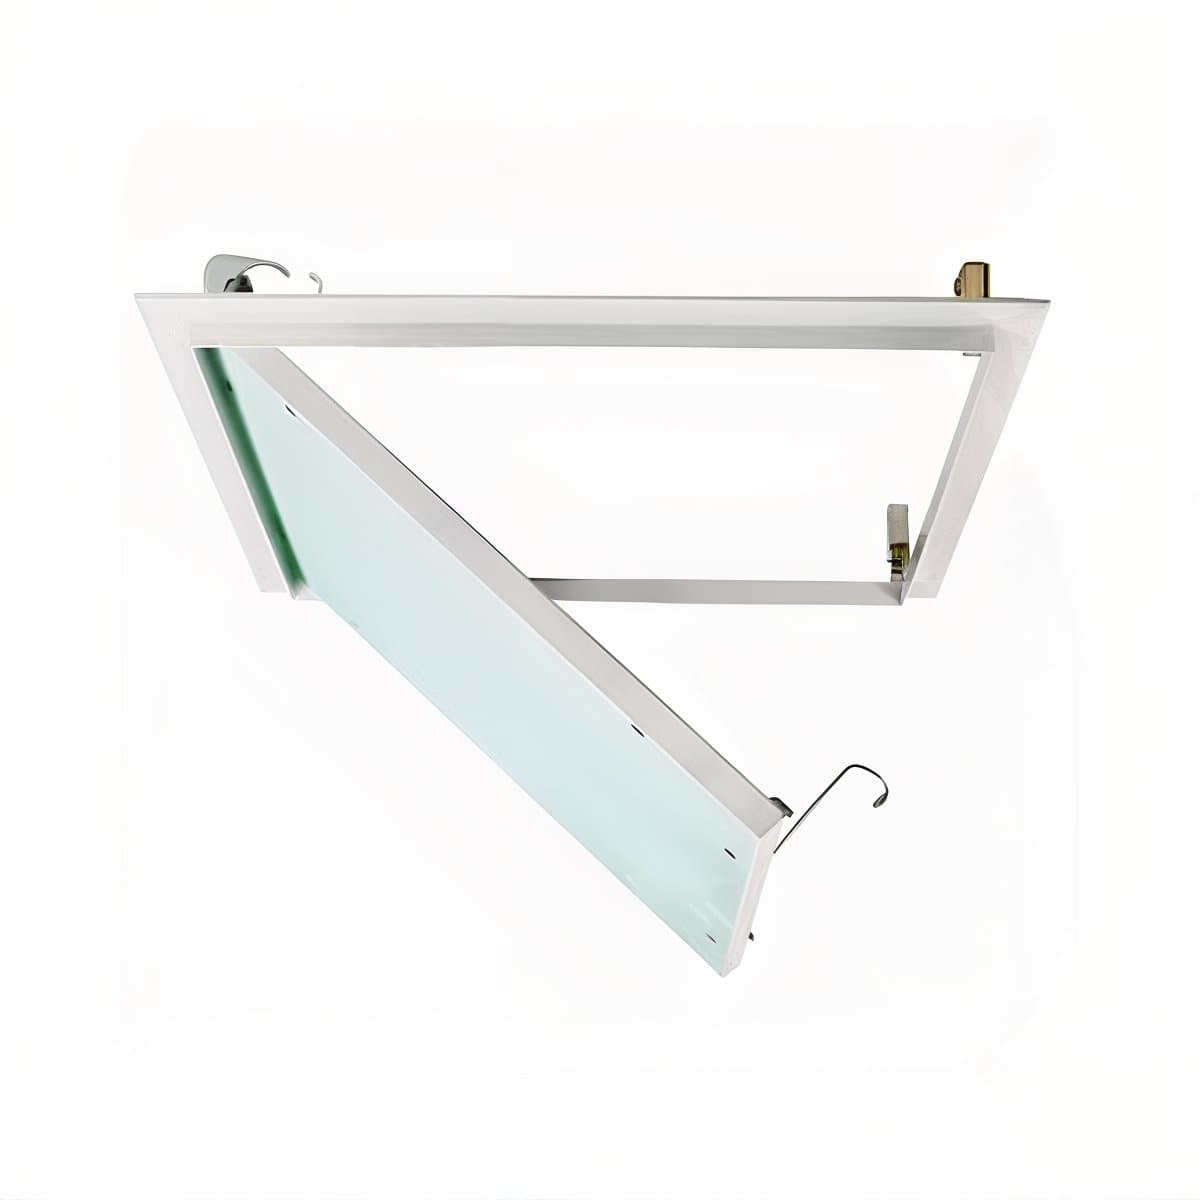
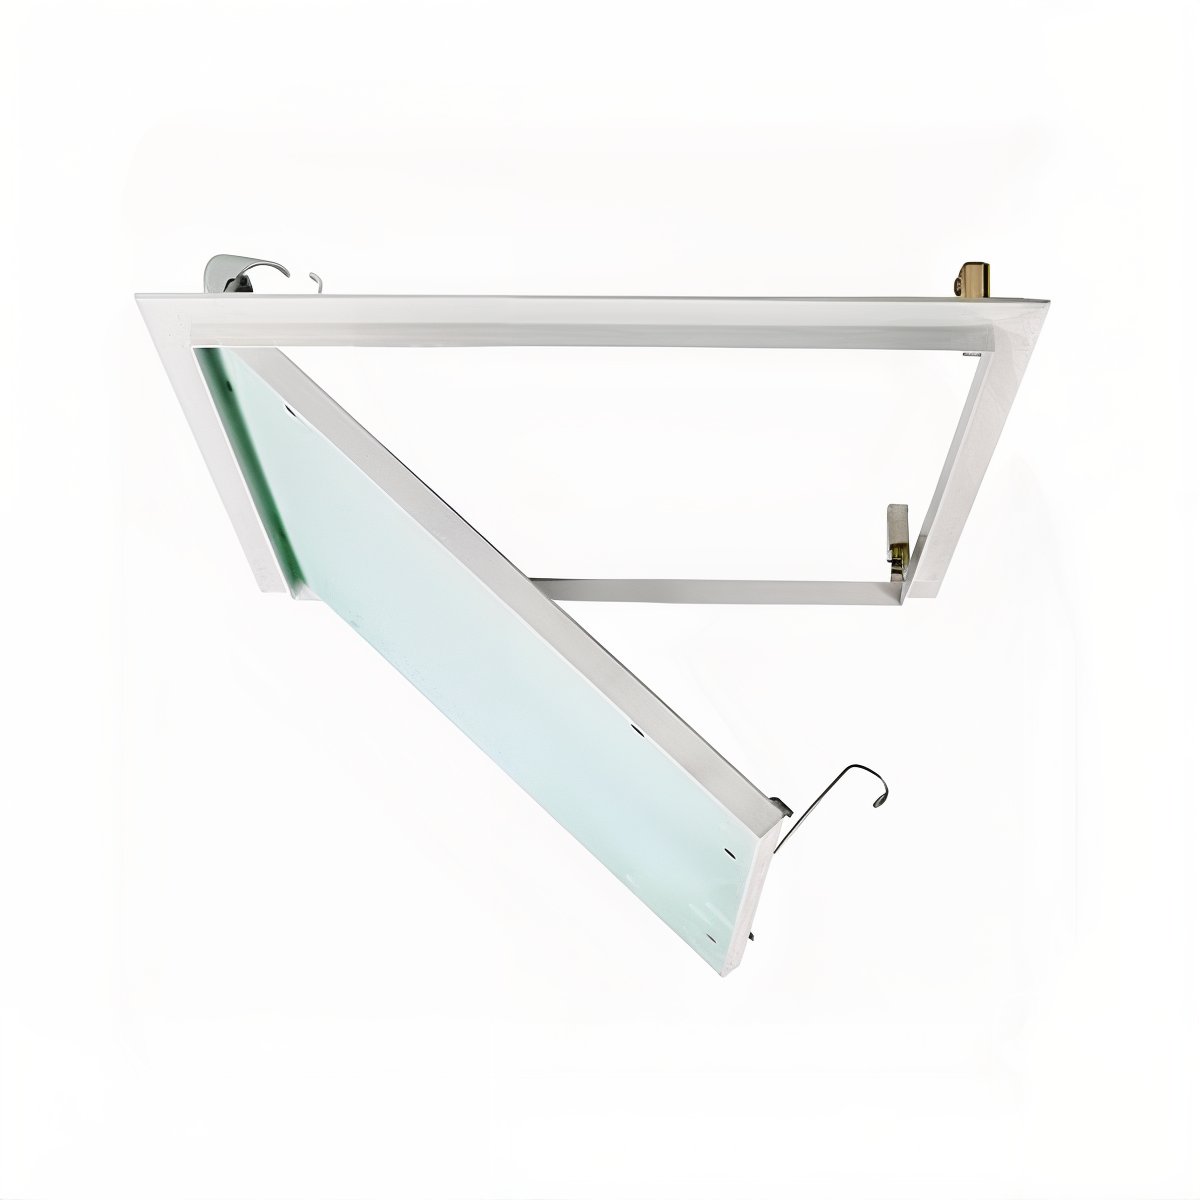 | Aluminum Service Opening for Drywall | **₪109** incl. VAT | ✅ In Stock | 🛒 Buy |
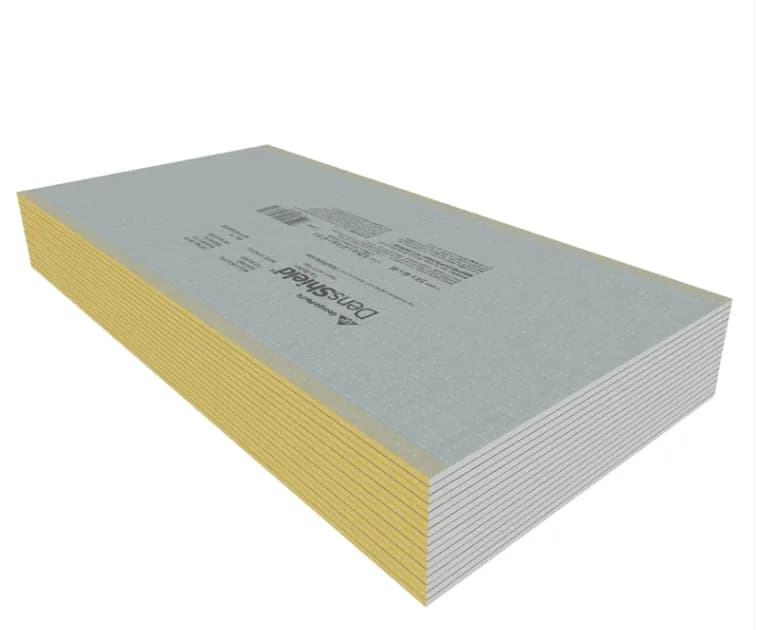
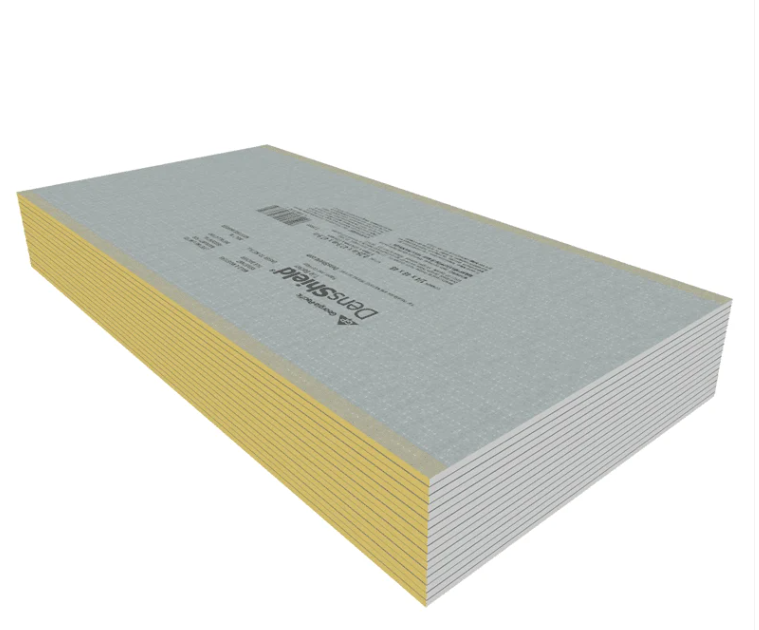 | DensShield 12.7mm for Wet Rooms | **₪171** incl. VAT | ✅ In Stock | 🛒 Buy |
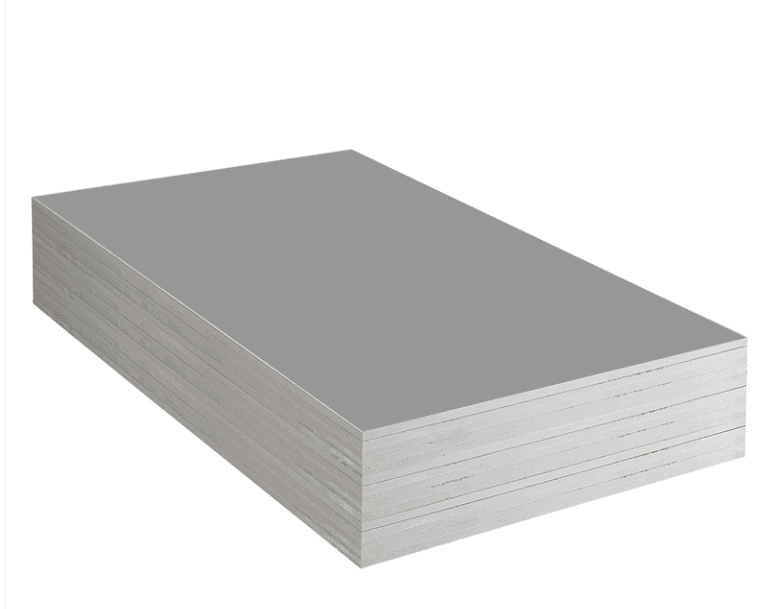
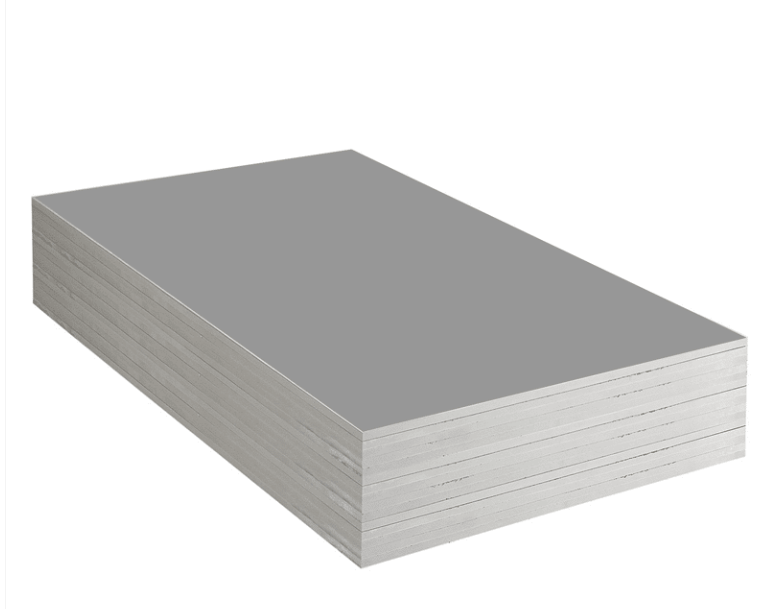 | Floorboard 18 – 18mm Lightweight Floor Board | **₪364** incl. VAT | ✅ In Stock | 🛒 Buy |
Products You'll Need ⭐
Frequently Asked Questions ❓
What's the difference between white and green gypsum boards?
Green boards are moisture-resistant for wet rooms (kitchen, balcony). White boards are for dry areas. For shower and bathroom — DensShield is recommended.
What is the correct stud spacing?
60 cm in dry rooms, 40 cm in wet rooms, center-to-center. Per Israeli Standard SI 1490.
How many screws per gypsum board?
One screw every 25 cm at board edges, every 30 cm in center. Head must sit 1 mm below surface — no more.
How long does jointing compound take to dry?
24 hours under normal conditions. In hot Israeli summers it may dry faster, but wait at least 24 hours before sanding.
Conclusion
With tracks, studs, and gypsum boards from ramo.co.il, every contractor and homeowner can build a quality drywall wall. Order now for fast delivery nationwide 🚚